How To Rhinestone A Dance Costume
Posted by Rhinestones Unlimited on Mar 14th 2022
Want to learn how to embellish a dance costume with rhinestones? We've packed this video with all the tips, tricks, and tools we use!
Here are the links for products featured in the video:
Today we'll discuss:
- preparing your garment and workspace.
- choosing your glue and tools.
- care and transport of your costume.
- design inspiration and application tips.
PRIOR TO THIS VIDEO

We’ll assume that prior to this point you have:
- decided on a brand/quality that fits your budget for your embellishments.
- chosen the type, attachment method, and size of the rhinestones.
- estimated the quantity needed for your design.
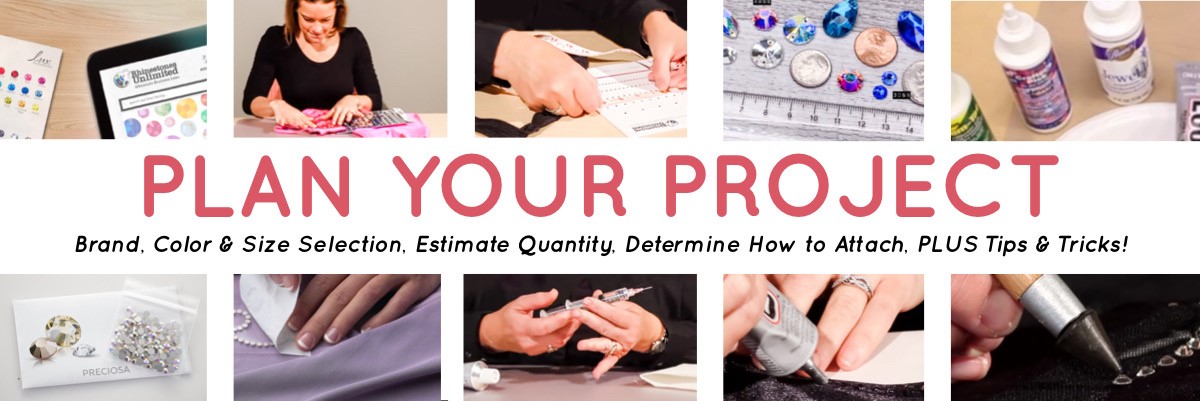
At Rhinestones Unlimited, we can help you with all of these decisions. We have a vast library of helpful articles. Check out our article PLAN YOUR PROJECT for help with these decisions.
If your rhinestone dance costume design is pre-determined for you, be sure you are clear on the design directions. Take pictures of the costume as a whole, and of the embellishment details, or work on your costume with the sample in front of you. To stay within the allotted budget, divide the stones into separate piles for each area of the costume before you begin.
STEP ONE: Prepare And Lay Out Your Garment
- Be sure your dance costume is clean and dry.
If this garment will be washed in the future, we recommend pre-washing it before you begin. If your costume is part of a group routine, please check with the instructor before washing—many costumes have very specific instructions on washing.
2. Take note of the characteristics of your costume when preparing to work on it. If your costume is a stretchy material, ensure that it is stretched while you’re embellishing, for the best results. With stretch costumes, working with the costume on a form that mimics the dancer's shape is always best.
Stretching the costume over a pillow or a piece of cardboard, or holding the costume and stretching as you go, are all options. A two-liter plastic bottle works well for tights or leggings.
STEP TWO: Prepare Your Workspace
Always assume the glue will seep through your fabric. To cut down on mess, try the following between layers to prevent messes on your costume and your work surface:
- Cardboard
- Wax paper
- Clean garbage bag
In our video, we use cardboard wrapped in wax paper, which gives you the benefit of stretching the fabric plus creating a non-stick surface. Consideration for seeping glue is especially important when working with net tutus, chiffon, and thin Lycras.
STEP THREE: Choose Your Glue
Consider how flat you are able to lay your garment when selecting your adhesive. A quick-set, industrial gel glue like E6000 is a great option when working on a three-dimensional surface and will minimize the problem of the rhinestones shifting or sliding before the glue sets.
If you prefer a more user-friendly glues:
- Gem-Tac
- Jewel It
- Jewel Bond
- E6000 PLUS
- E6000 Fabri-Fuse
Note: They take longer to set, and so are better suited for rhinestone dance costumes that can lay flat for a period of time. They are very strong when completely dry.
STEP FOUR: Choose Your Tools
This is personal preference and feel free to try different methods until you find what works for you. We recommend having a tool to help dispense the glue and a tool to pick up the rhinestones.
To dispense the glue, our favorite tool is a fine-tipped syringe. Though with practice you can use many glues straight from the bottle or tube, you will use less and get better control—and therefore less mess—using a tool with a fine tip. We’ve found that this is especially helpful when using a gel-style glue with a thicker consistency, such as E6000.
To fill the syringe:
- Remove the plunger and set it aside.
- Open the tube of glue by piercing the tip with the cap.
- Squeeze enough glue into the syringe to fill it wall to wall, keeping it near the top.
- Replace the plunger and squeeze most of the air out before the glue fills the tip. (The syringe will be harder to work with if you have trapped air inside the canister.)
- Twist on the included tip and squeeze out any remaining air so glue fills the tip.
Practice applying a small amount of glue onto a napkin or paper towel. Remember, a dot of glue is all you’ll need for most stones. Larger embellishments may need a few dots of glue to be securely attached. To avoid trailing excess glue between dots when using E6000, try rolling your wrist slightly inward while lifting the syringe tip away from the garment. Another benefit over working straight from the tube: you can cut off the flow of glue by pulling upward on the plunger to reverse the pressure. This will help avoid messes on your work surface when you set the syringe down. To ensure your work surface is protected, however, we always suggest setting your glue tools on a barrier surface, such as a paper plate.
Be sure to regularly wipe off any excess glue that accumulates on the tip to prevent clogging and minimize glue “strings” between dots. The glue is usable for up to two days if you can keep it from drying in the syringe. Plug the tip with a pin or a straightened paper clip, wrap the syringe in a damp paper towel and store in an airtight bag during breaks.
Plastic Tips can also be purchased that screw right on to the E6000 bottles or the E6000 2oz comes with an applicator tip as part of the bottle.
These are good alternatives to working with a syringe filled with E6000. It all depends on how large of a dot of glue you need and can control. Remember to protect your work surface when working right from any E6000 bottle.
The white glues dry clear and have a consistency that may be easier to use straight from the bottle for larger embellishments. However, even these glues can be applied with more precision by using our Round Bottle Syringe (1 oz) Kit. These bottles work best with white glues.
You can collapse the filled Bulb Syringe Bottle between your fingers to use, and when you replace the orange cap, can be stored in this position.
Household tricks to pick up rhinestones include:
- a pencil eraser.
- crayons.
- a toothpick with a bit of dried glue or candle wax on the tip.
But, we’ve found our standby tools are easier to use and harder to lose!
Our Pick-Me-Up Tool is a must-have for seamlessly setting crystals.. With the lightest touch, you can pick up a crystal and place it on your glue dot, then turn the tool around to refine the stone’s placement and set it into the glue with light pressure. It's an indispensable tool for both large and very small stones.
The Crystal Katana expands on this idea, with a premium jewelers wax tip that leaves little to no residue on the surface of the crystal. The lightweight bamboo shaft is hollow, and the twist-off chrome end was designed to fit over the top of the angled Swarovski Elements facets, allowing you to push the stone firmly in place with less fatigue.
Always good to have on hand? A pair of good, old-fashioned tweezers. Our angled, fine point tweezers can pick up even the smallest stones, and can get in tight spaces.
Care and Transport of your Rhinestone Dance Costume
The glues we’ve discussed are washable and permanent. This means your rhinestones can be washed and dried and the glue bond will remain at full strength. We recommend waiting at least four days after finishing the project before the first wash. Hand wash, or if the completed rhinestone dance costume can be washed in the machine, use the gentle setting and turn it inside out to prevent scratches on the surface of the crystal. For the same reason, air drying is recommended. Do not dry clean your costume if you have glued on your embellishments; the dry cleaning process will weaken the bond.
When you are ready to transport your costume, you can keep it protected from dirt and surfaces that may dull or scratch the crystal simply by keeping it covered. Depending on the characteristics of the costume itself, this may mean hanging it inside a garment bag or folding it into a box or 3-dimensional bag to prevent crushing. If the fabric is very delicate and is prone to snags, consider covering heavily-embellished areas with tissue paper or a paper towel.
Design Inspiration and Application Tips
With any project, remember to do a test area first before diving in. This could mean practicing on a scrap piece of fabric, paper, or an area of the costume that is less prominent.
The most common application misstep? Remember you don’t want to spread your glue over an area. This inhibits the natural stretch of the material. Do not draw a line of glue. Instead, place a dot of glue for each stone. In this way, the costume can stretch with the wearer, and each stone is individually secured.
Again, you may not need to worry about coming up with a design if it has already been determined for you, and you are simply copying the pattern. However, if you are interested in creating your own rhinestone design, there are several methods:
- Lining
- Scattering
- Covering
- Applique Method
- Following the pattern of the costume
For more Application Tips and Design Inspiration, keep an eye on our blog.
Many people immediately take to embellishing. It can be a creative hands-on project with appealing results. Others may find that it takes a bit more time to get comfortable with it, but don’t sweat it—the first time is always the hardest! These are tips that took us time to perfect, so don’t be discouraged if your glue smudges or your lines aren’t straight. Chances are, the audience won’t notice the details. What they will see is an enlivened stage presence under the spotlight. Crystals highlight the dancer’s unique movements by attracting the audiences’ eye. They create a costume out of a leotard and transform a dance into a performance. Your efforts go a long way in making your dancer feel at home on the stage, so don’t be afraid to get started, and be proud of your work!
We hope you feel more comfortable beginning your project. We also invite you to LIKE us on Facebook for the most current information and inspiration. Whether you are a wholesale buyer or sparkling dance mom, we offer great tips and tricks to help you —and your performance—shine.

 Bulk
Bulk Crystal
 Crystals
  Sales &