
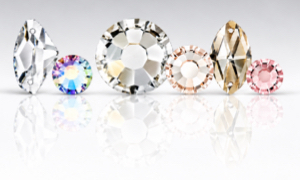
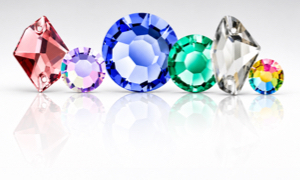
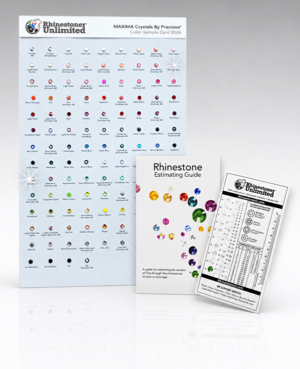
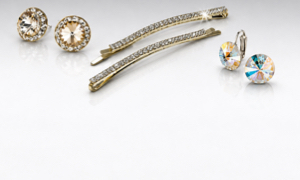
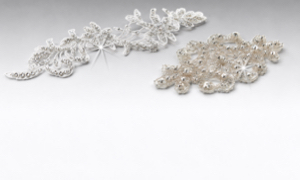
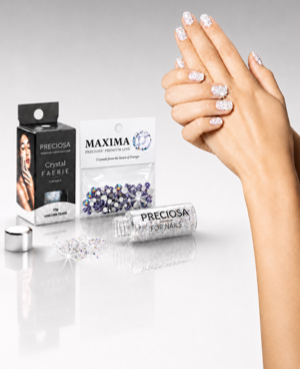
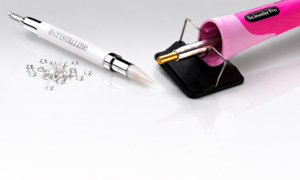
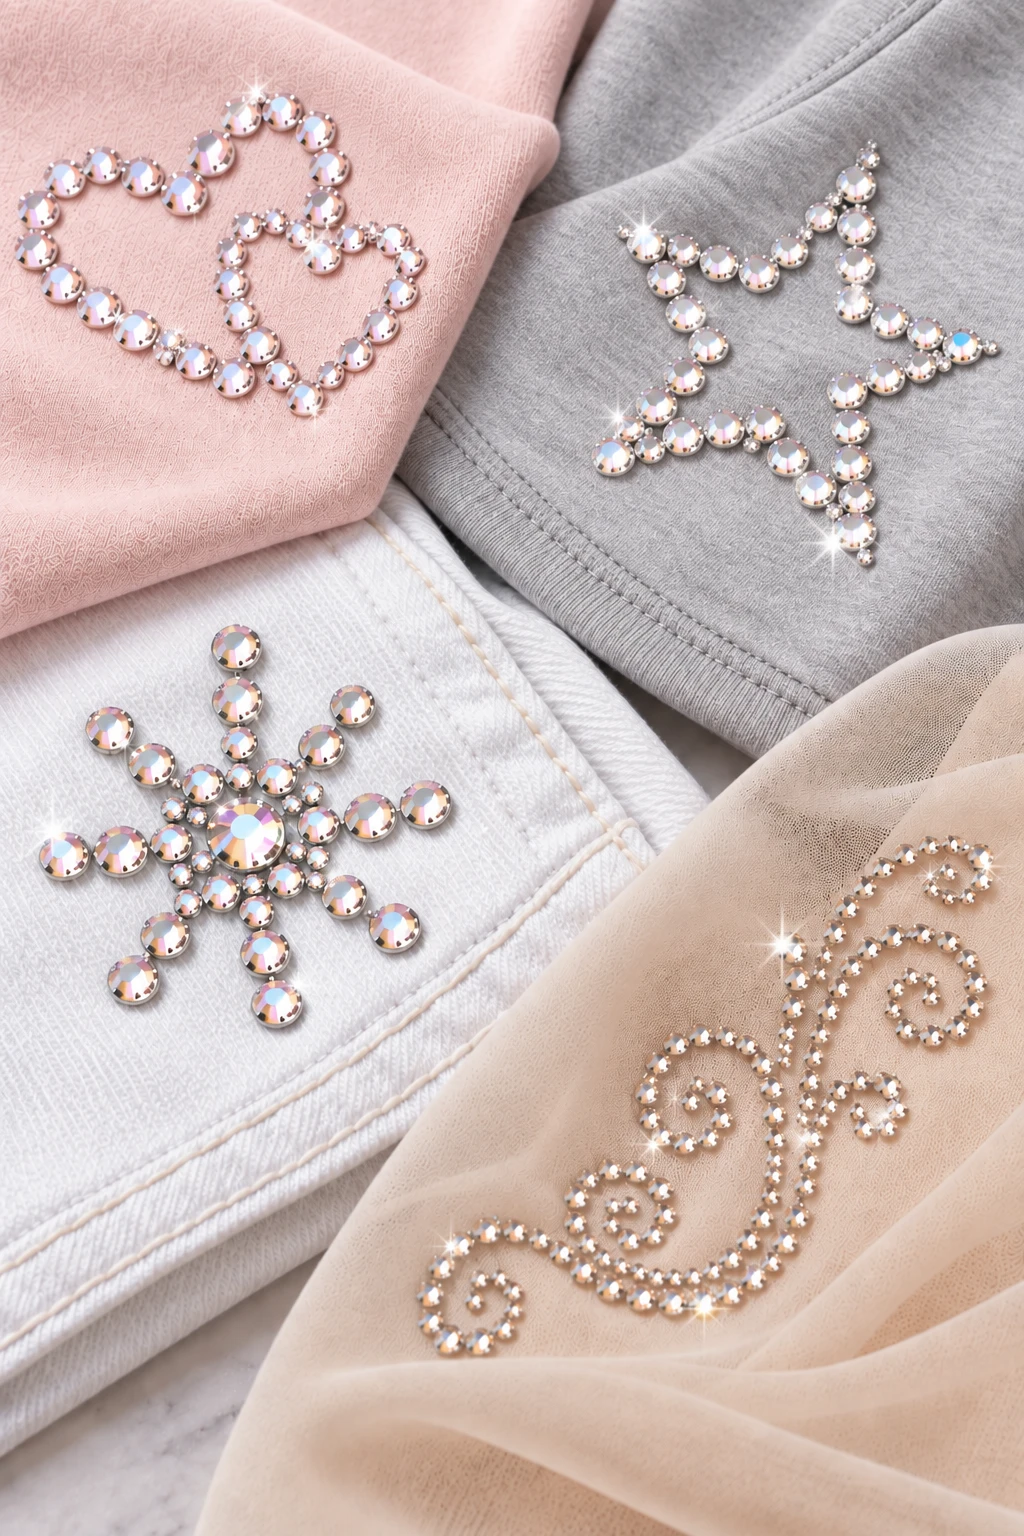
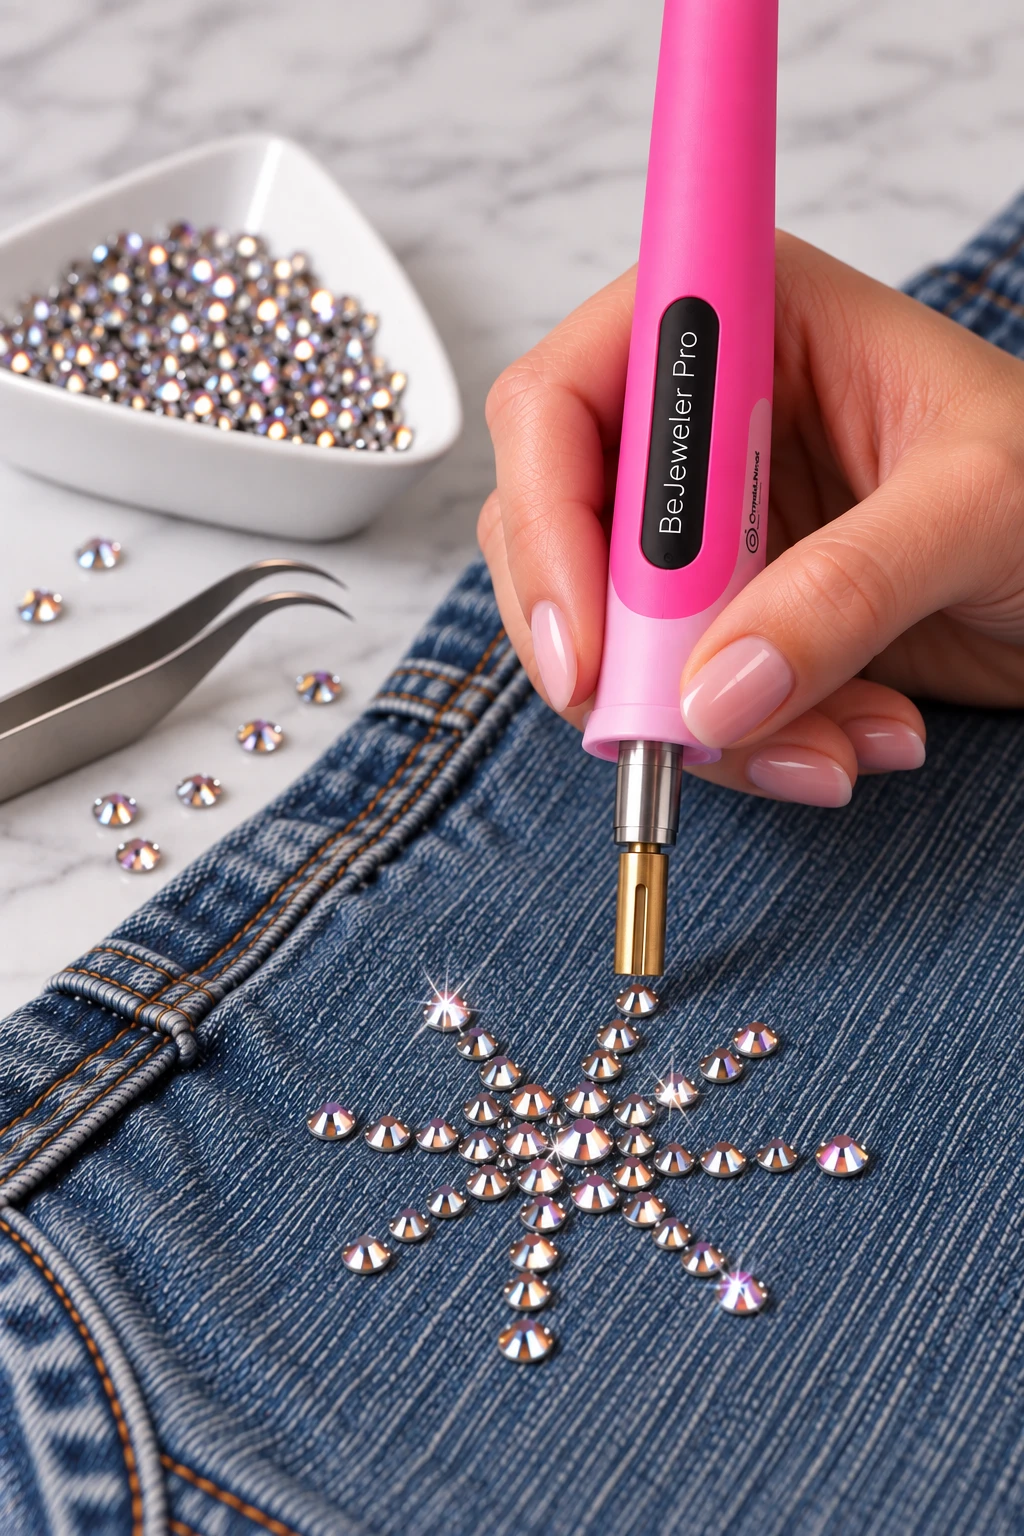
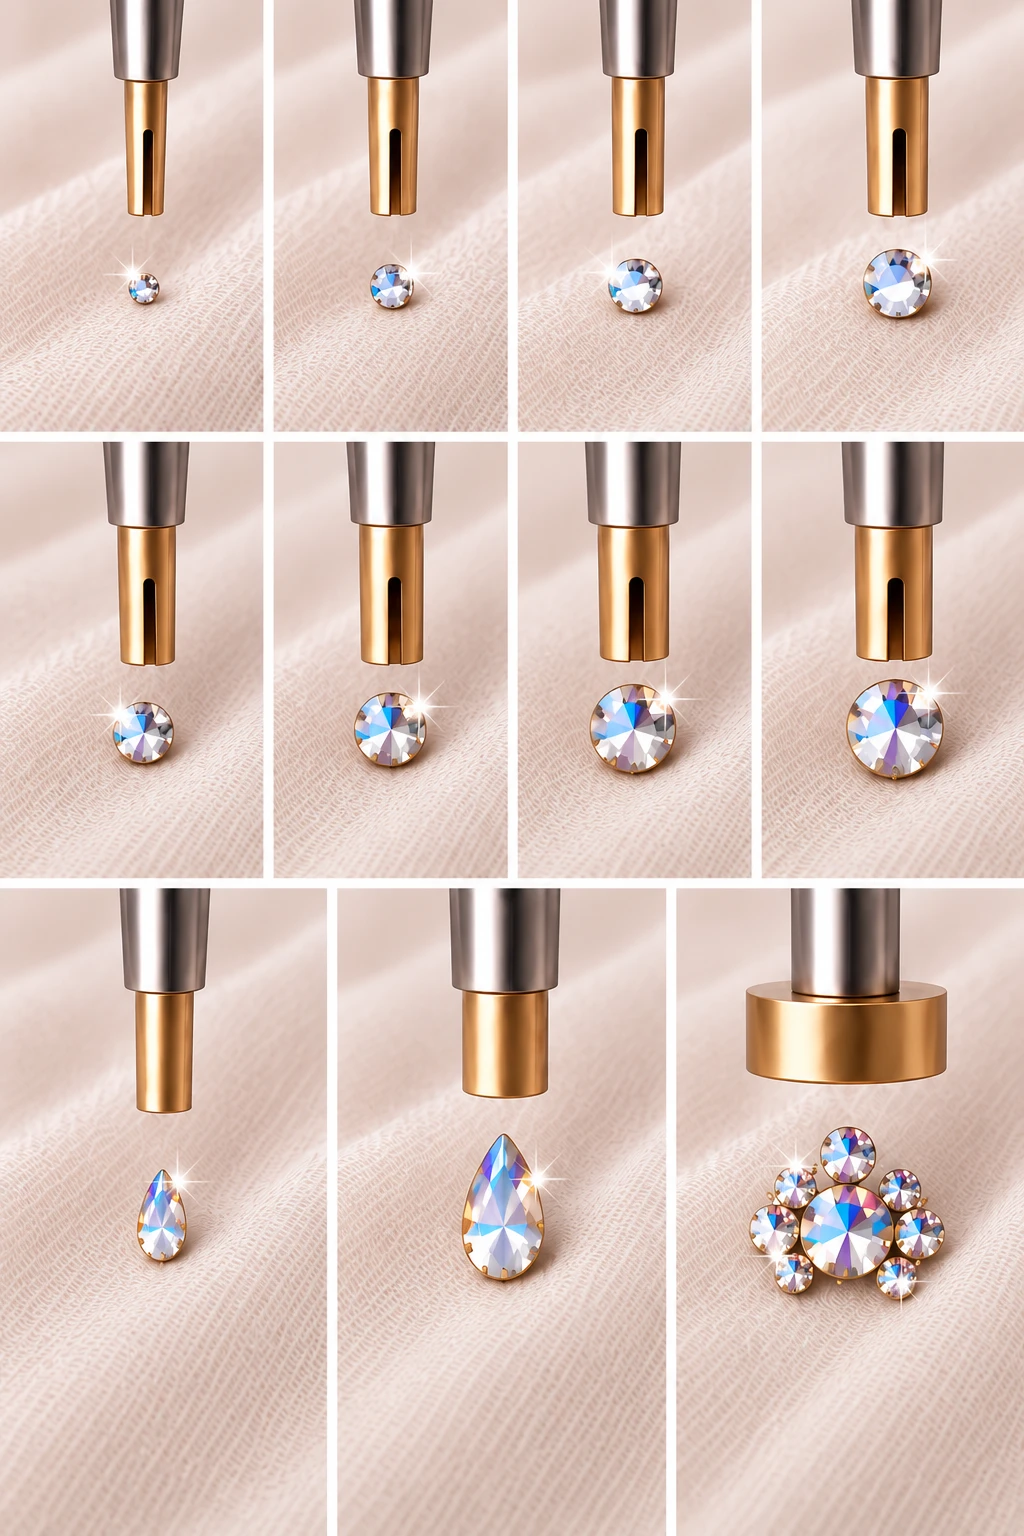
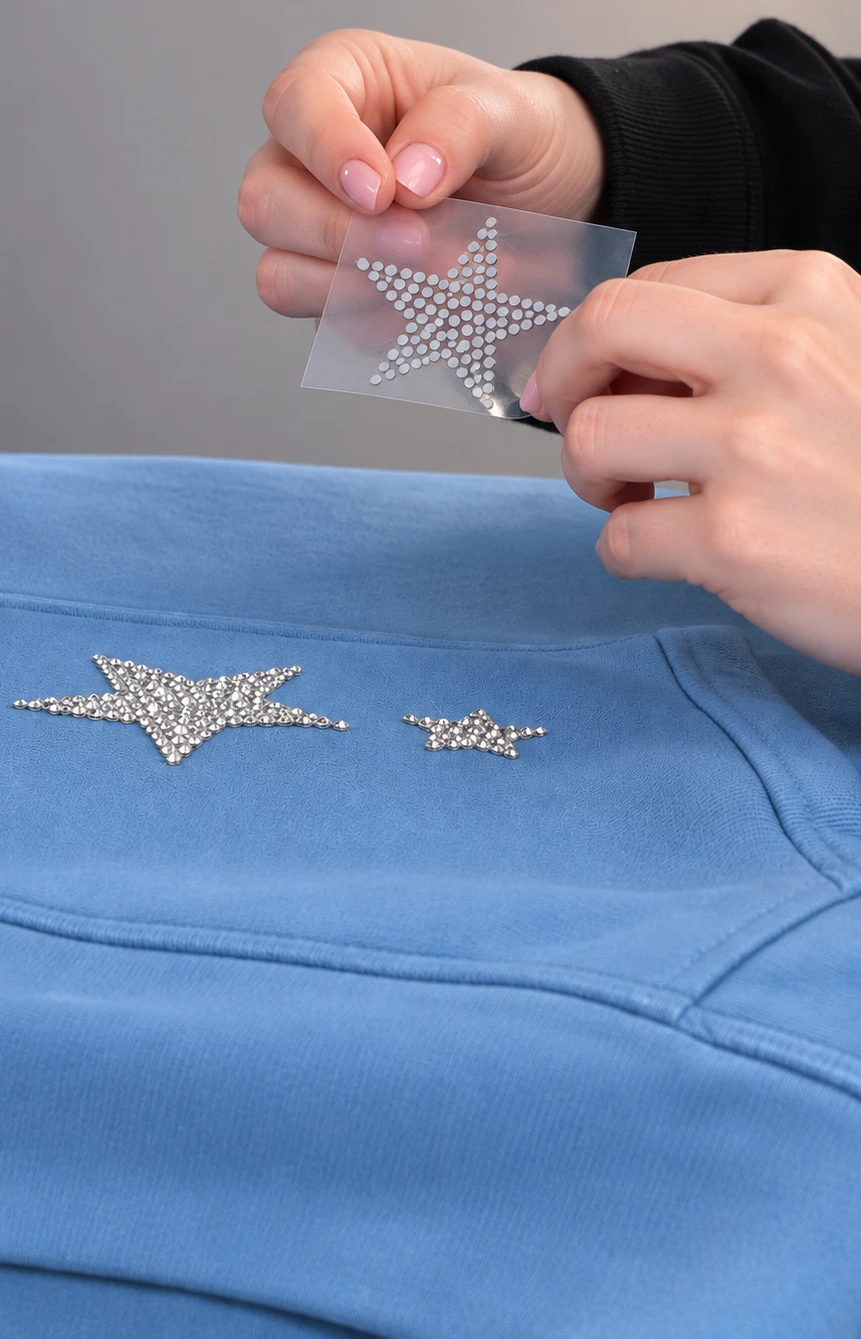
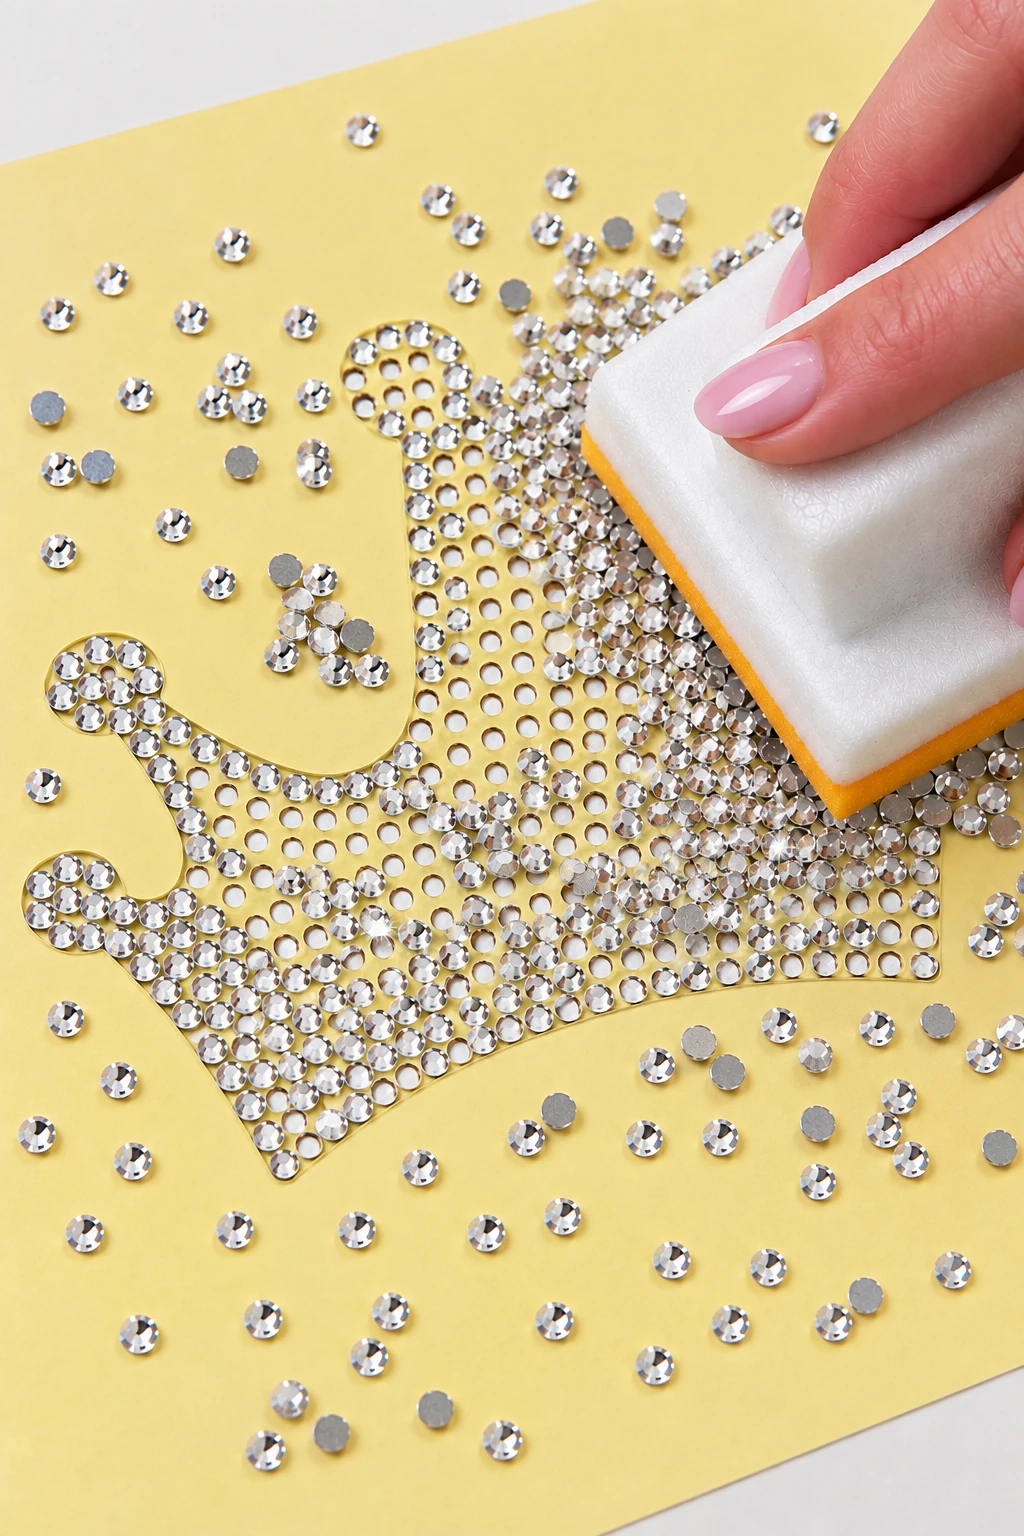
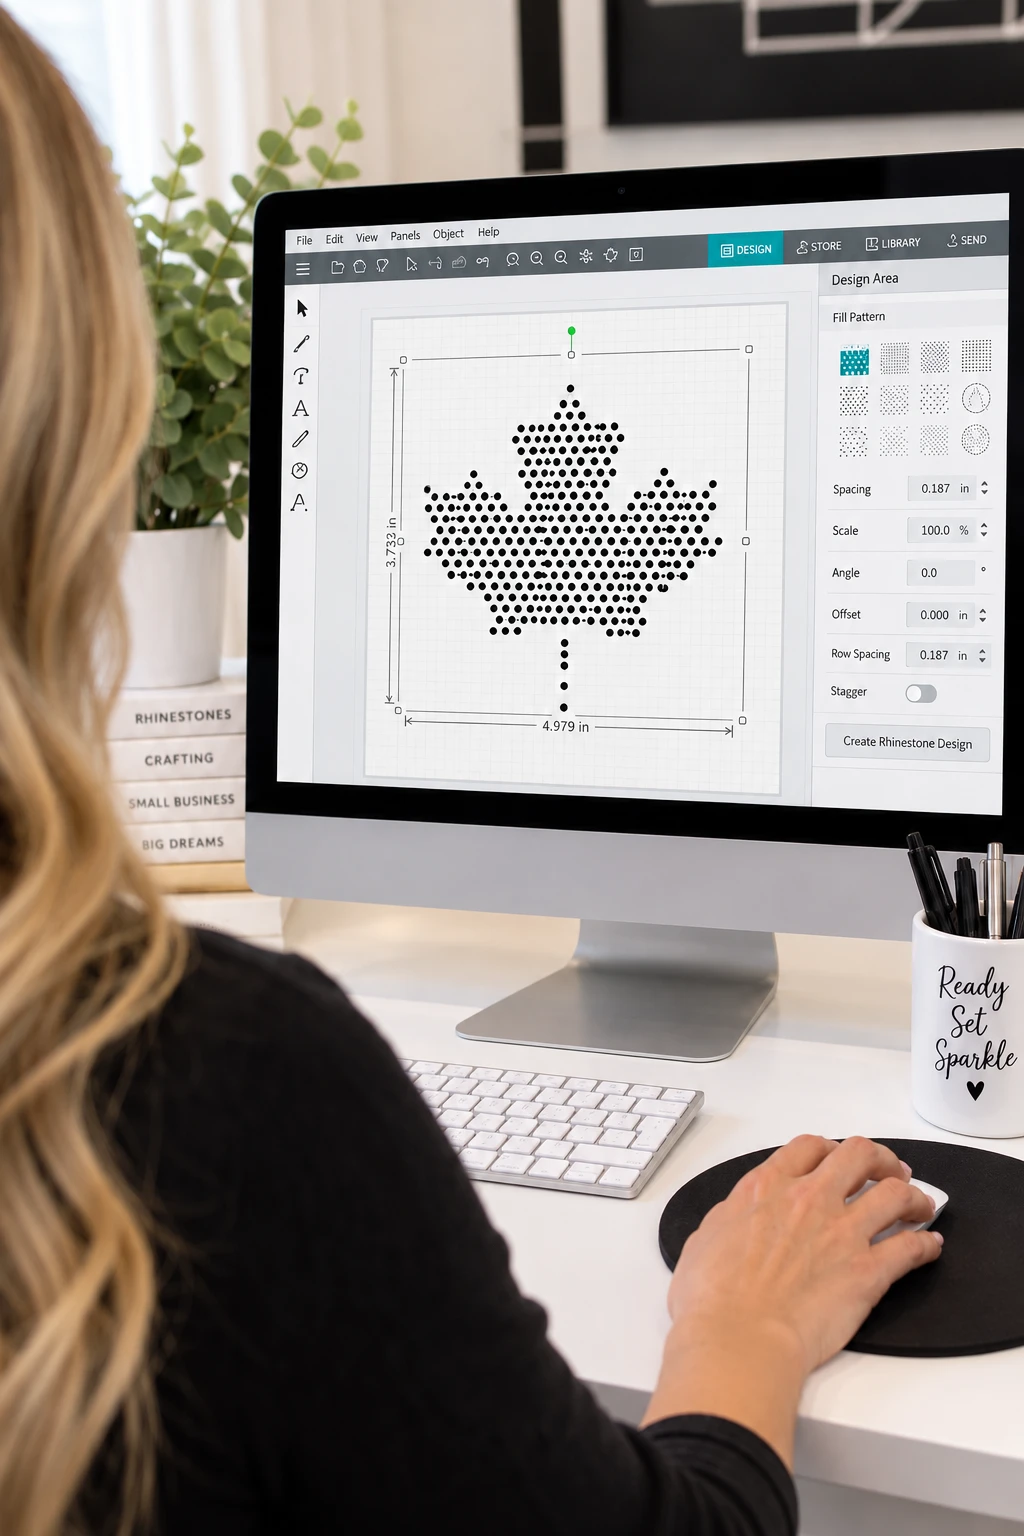
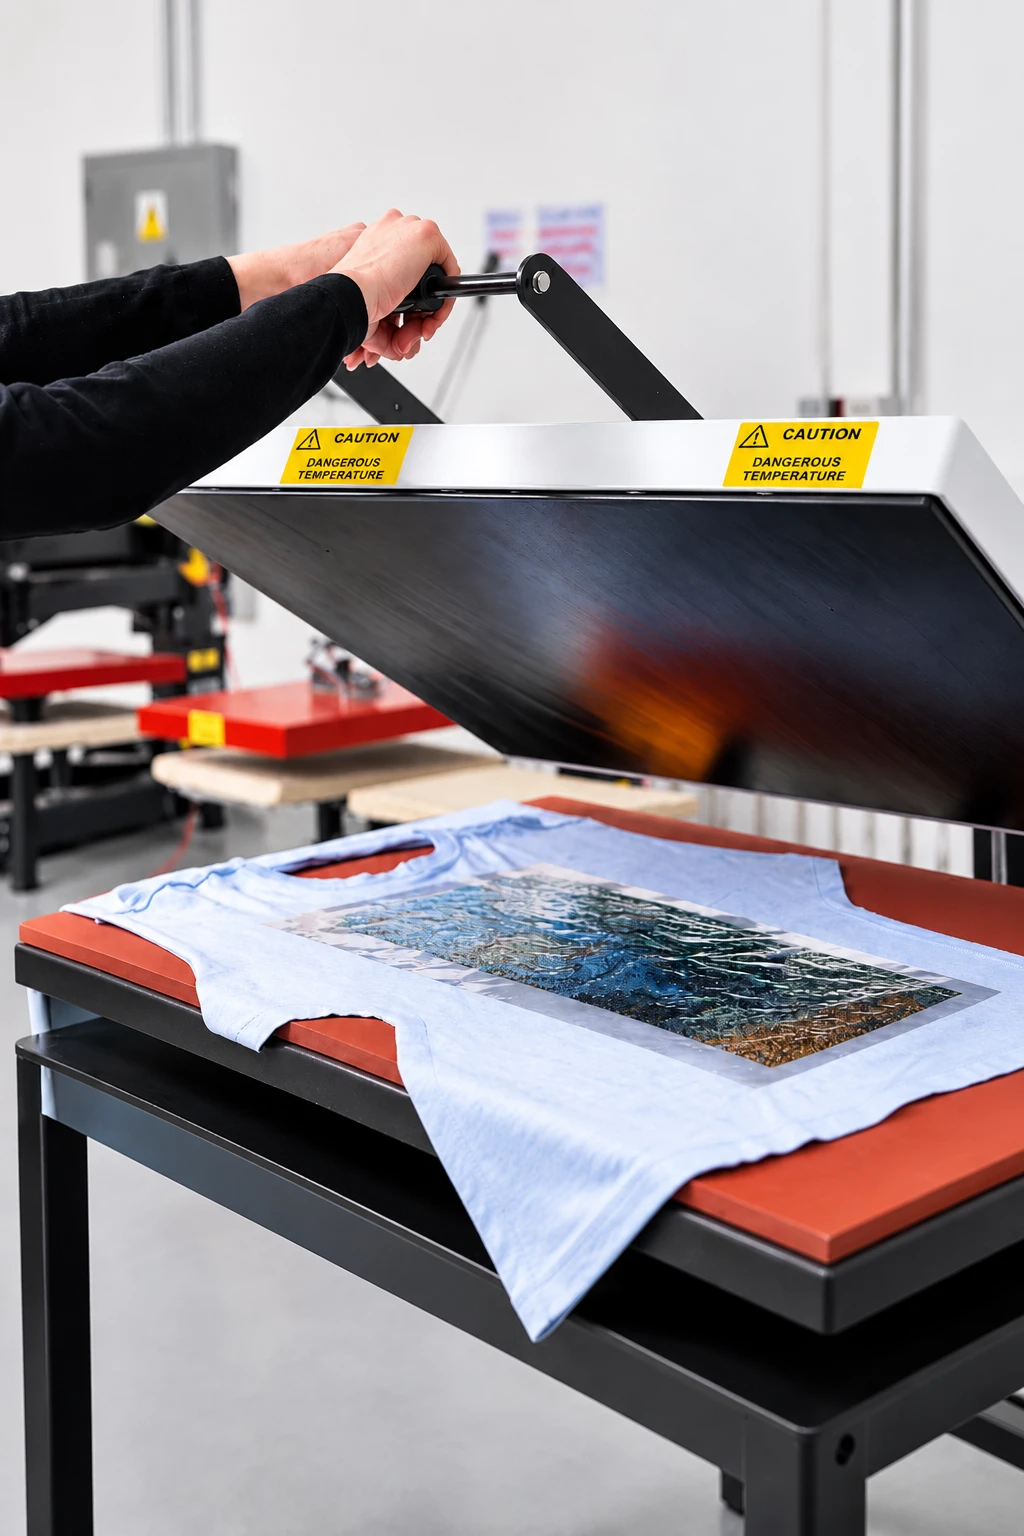
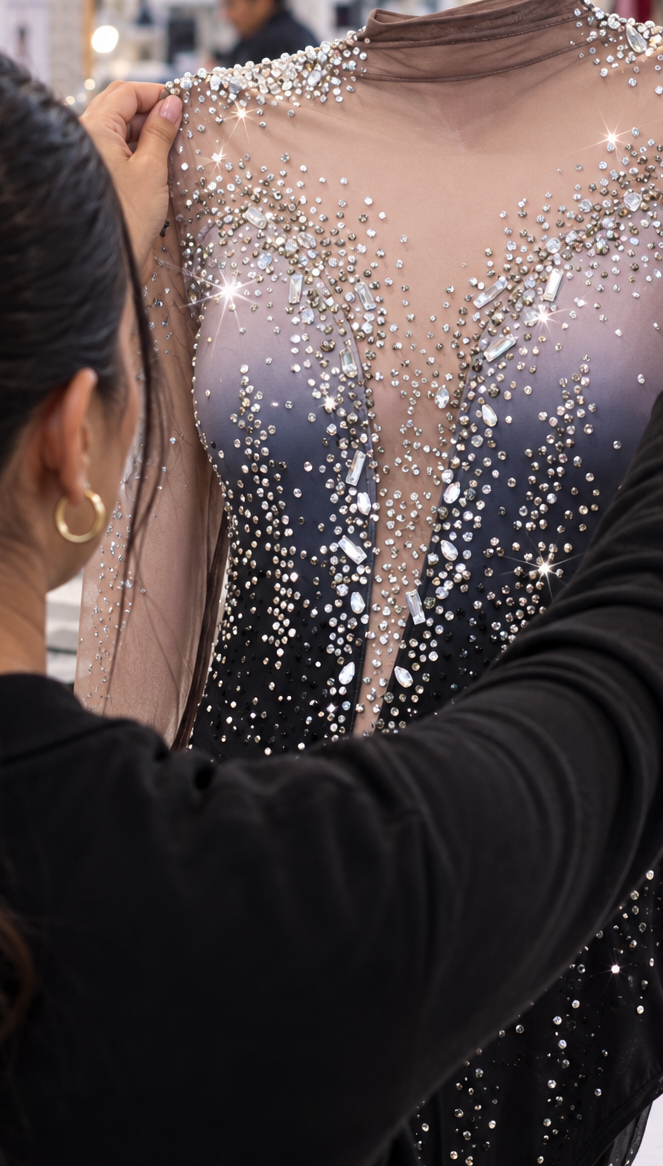
Hotfix Rhinestone Application Guide Hotfix rhinestones have heat-activated adhesive on the back, creating a strong bond on compatible materials without separate glue. Choose Your Application Path Choose the method that matches your project and go directly to the information you need. Commercial equipment, technical manuals and production testing. Shop This Guide Prepare and test the material before using either DIY or commercial hotfix application methods. Confirm that your rhinestones are labeled hotfix. Hotfix adhesive works best on clean, dry, absorbent and heat-tolerant materials. Apply individual stones with a handheld applicator or complete designs with rhinestone transfers. The BeJeweler Pro heats the adhesive on the back of an individual hotfix rhinestone, allowing you to pick up, heat and place the stone with one handheld tool. The BeJeweler Pro applies individual hotfix rhinestones and compatible embellishments. A heat press provides more consistent heat and pressure for complete transfers. Cut a pattern of holes into rhinestone template flock, brush hotfix stones into the holes, then lift the completed design with transfer tape. Our future collection will include beginner and premium designs for compatible cutting machines. Use current technical guidance, calibrated equipment and documented testing for repeatable production. Production settings depend on the rhinestone, adhesive, material, equipment and fabric layers. Begin with the current manufacturer instructions, then test and document the complete process. Use the current technical manual for the brand being applied. The older Swarovski and Preciosa documents previously linked from this page have been removed. The press display may not equal the temperature reaching the adhesive. For incomplete adhesion, visible adhesive, rhinestone movement, press marks or failures after washing, compare the result with the current manual and change only one variable at a time. FREQUENTLY ASKED QUESTIONS Hotfix stones contain heat-activated adhesive. Non-hotfix flat backs require separate glue or another setting method. Yes, for some applications. Turn off steam, use firm stationary pressure, follow the rhinestone instructions and test first. Use the BeJeweler Pro for individual stones and detailed designs. A heat press is more consistent for complete transfers. Follow the current instructions for the specific rhinestone brand, material and application method. Often, but test the complete material and application first. These hard, nonporous surfaces generally require glue-on rhinestones instead. Sometimes, if the adhesive remains intact. Otherwise, replace the stone or use another suitable attachment method.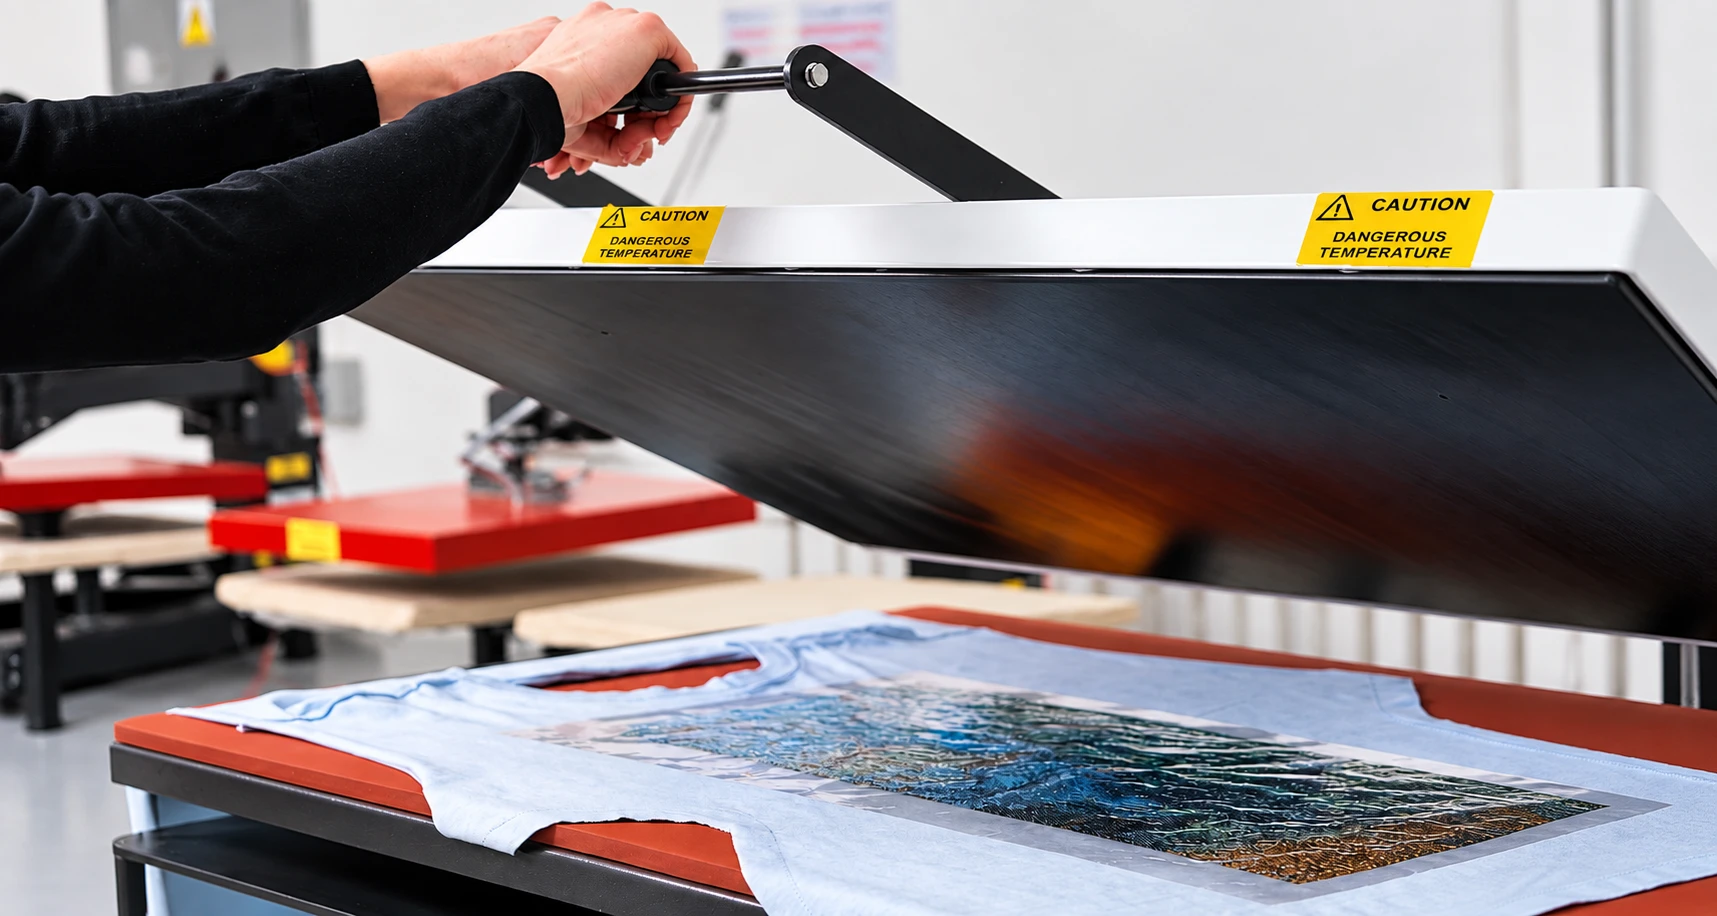
Using Hotfix Rhinestones
DIY or Manufacturing?
Manufacturing Application
Hotfix Rhinestones and Tools
Before You Begin
Test the Material
DIY Application Methods
DIY Handheld Applicator Tools
How the BeJeweler Pro Works
Choose the Correct BeJeweler Pro Tip
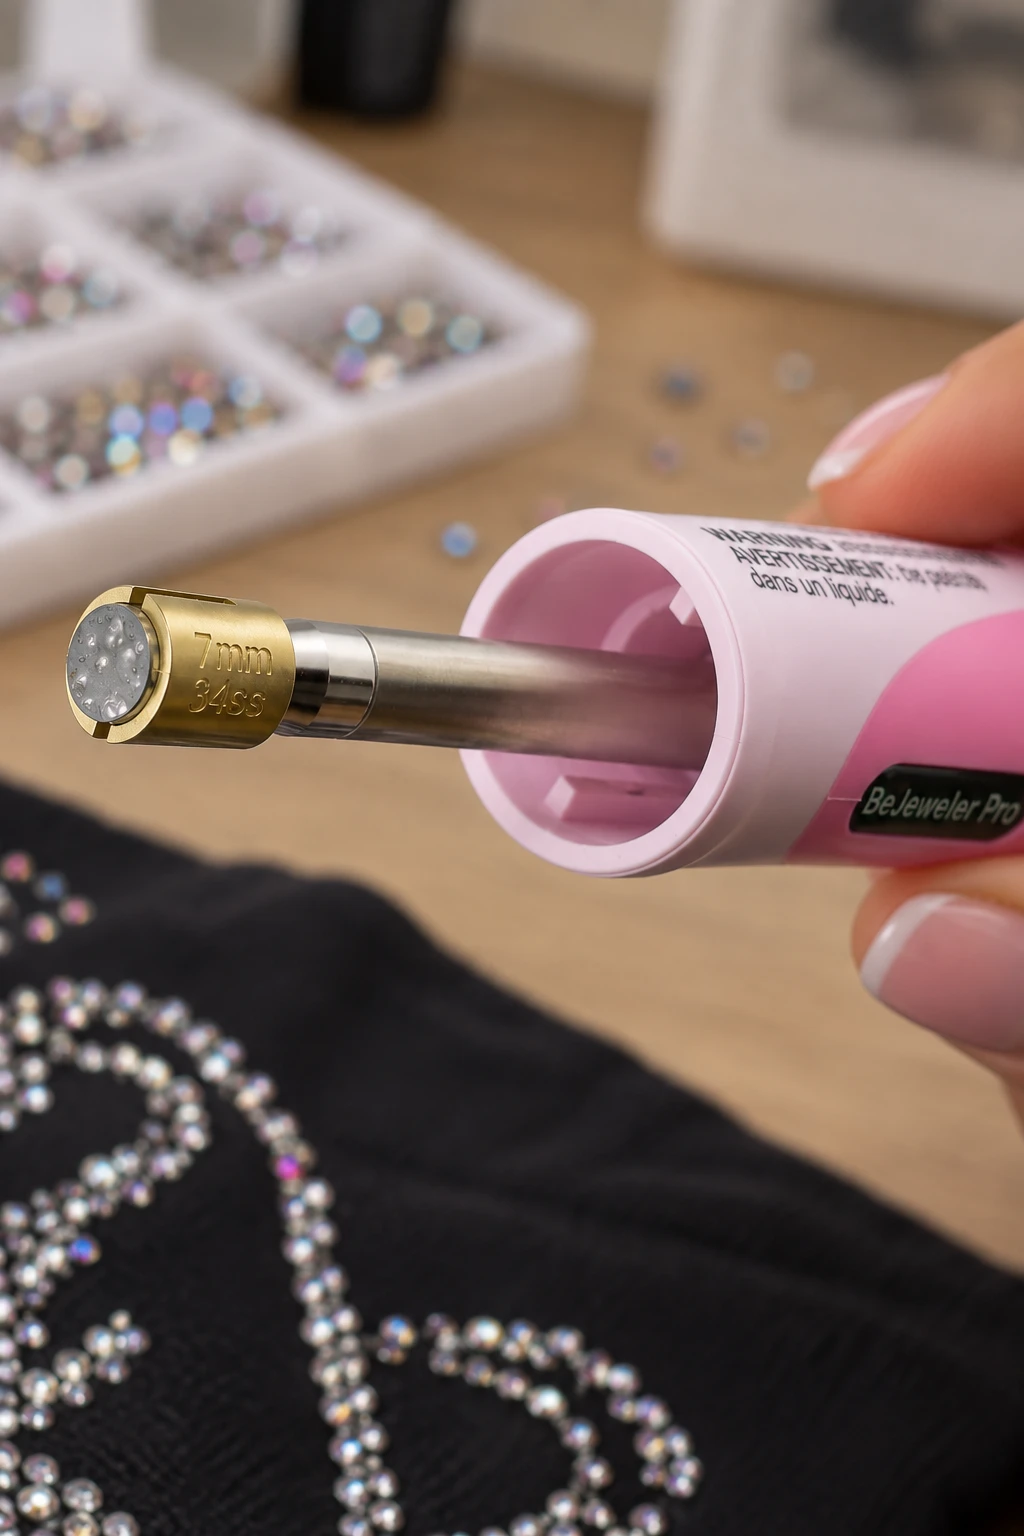
Heat the Rhinestone
Place the Rhinestone
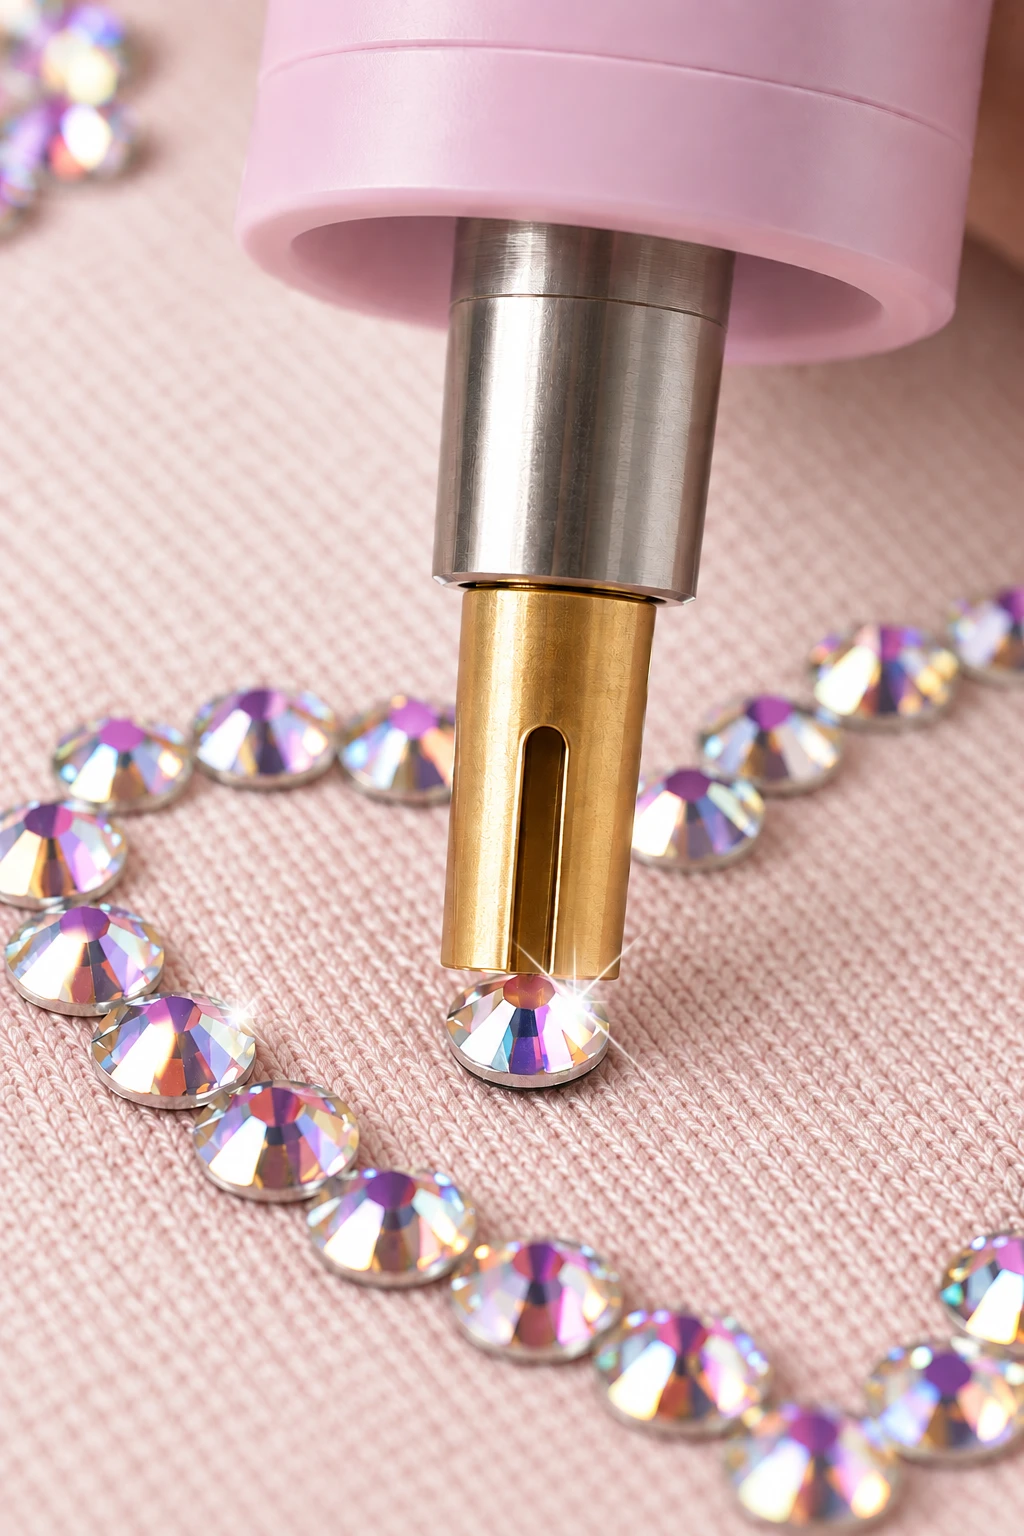
DIY Rhinestone Transfers
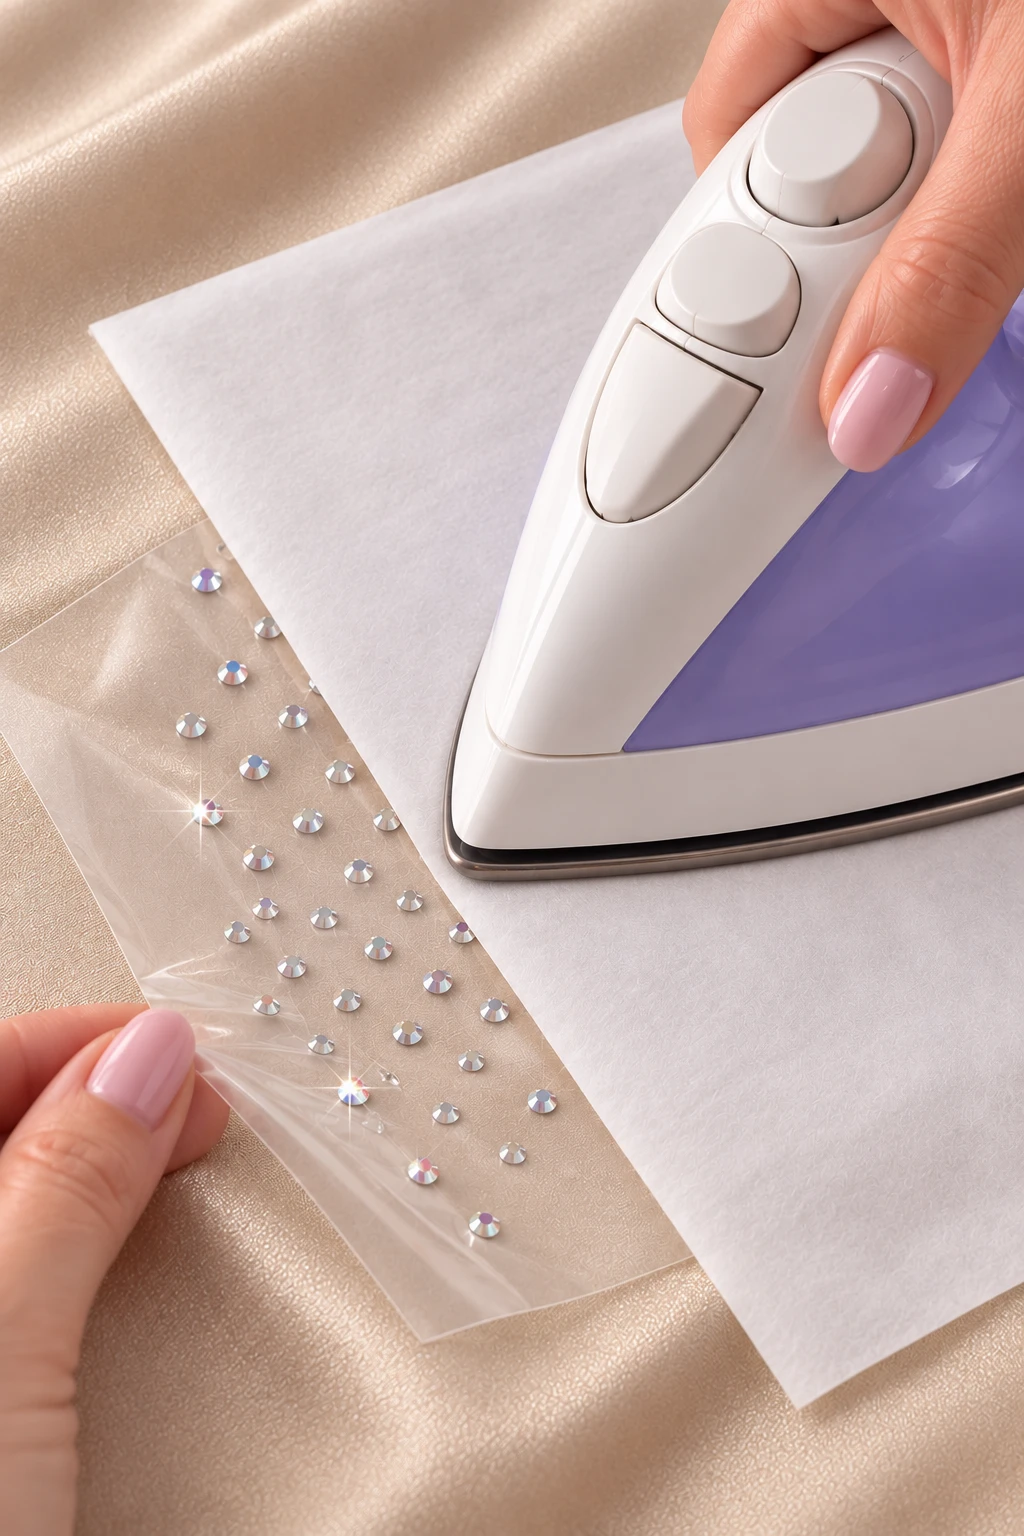
Use a Household Iron
Use a Craft or Flat Heat Press
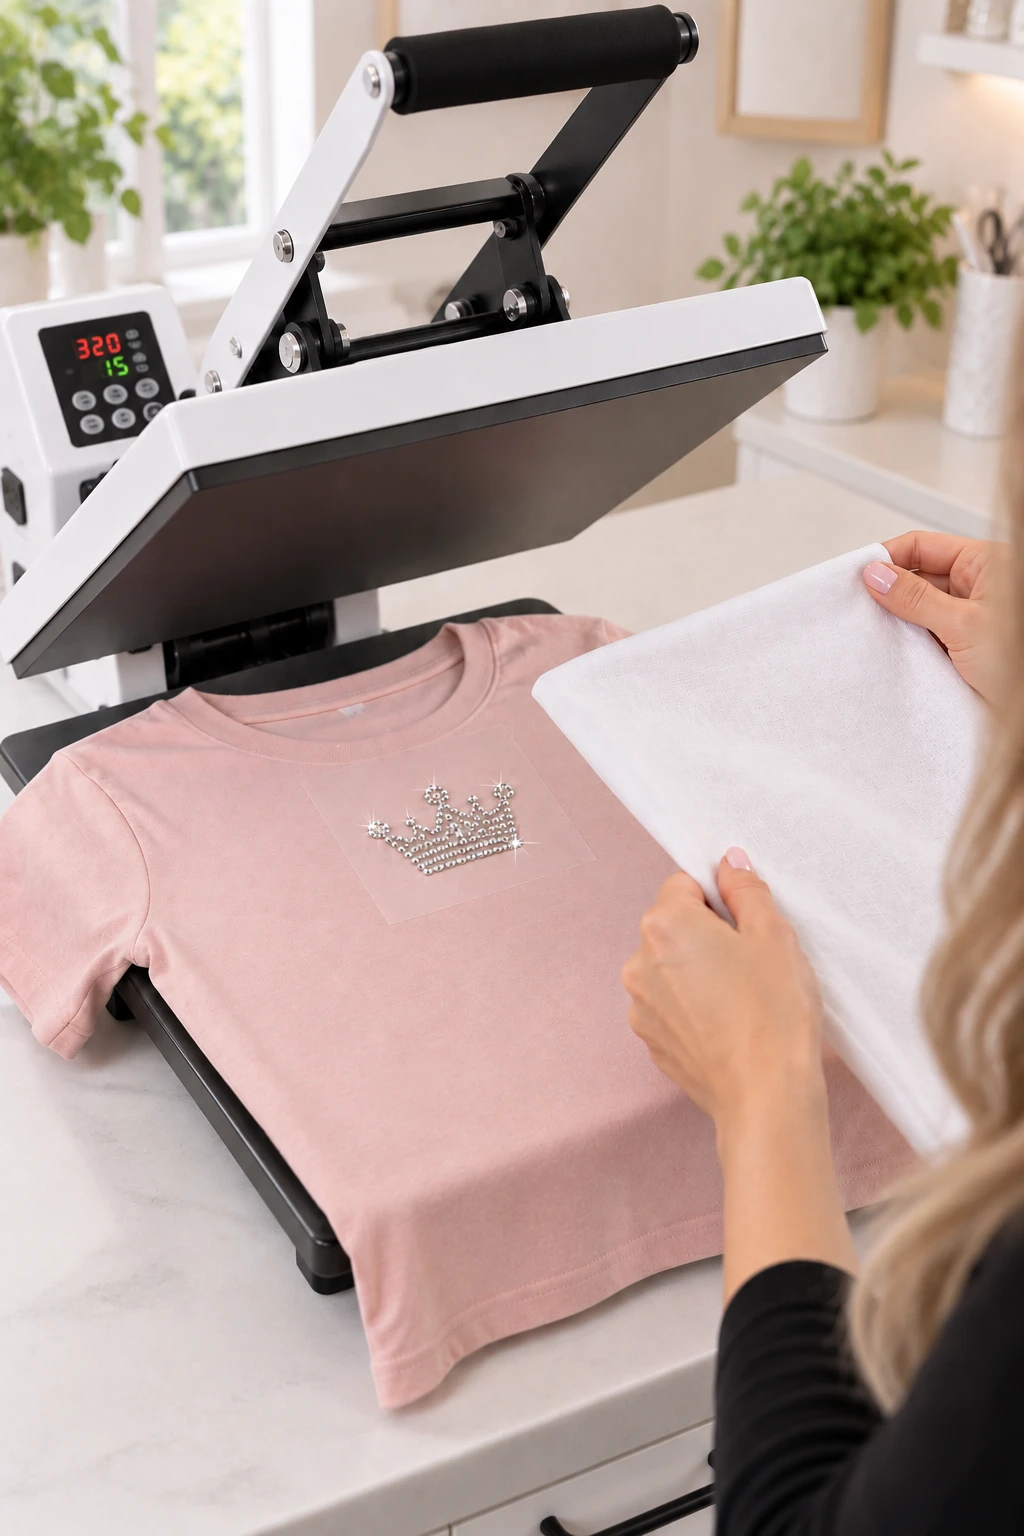
Apply a Premade Transfer
Make a Transfer with Cricut or Silhouette
Free and Premium Design Files
Manufacturing Methods
Commercial Application

Current Manufacturer Application Manuals
Swarovski Application Manual
View Current Manual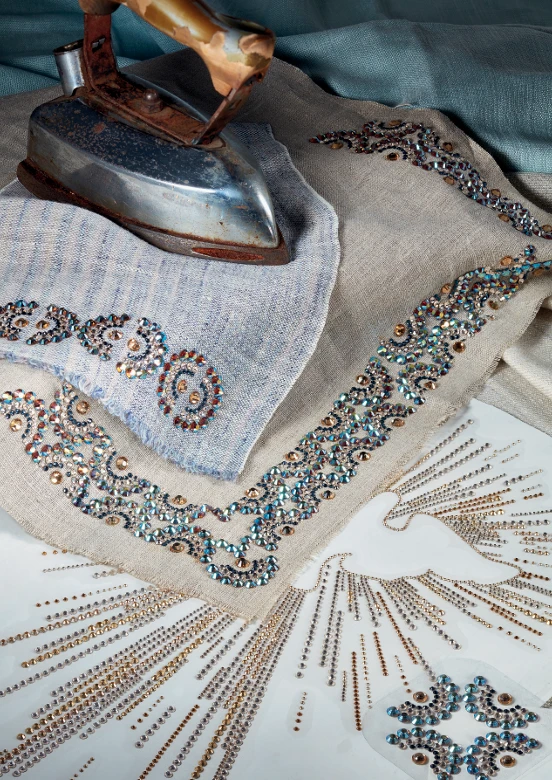
Preciosa Application Manual
View Current ManualCommercial Equipment and Settings
Manufacturer Quality Control & Troubleshooting
Commercial Troubleshooting
What is the difference between hotfix and non-hotfix rhinestones?
Can I use a household iron?
Is an applicator or heat press better?
What temperature and time should I use?
Can I apply hotfix stones to stretch fabric?
Can I use hotfix stones on glass, plastic or metal?
Can I reapply a loose stone?
Remember: A successful bond requires the correct combination of heat, pressure and time. Always follow the instructions for the rhinestone brand you are using.