 Bulk
Bulk Crystal
 Crystals
  Sales &
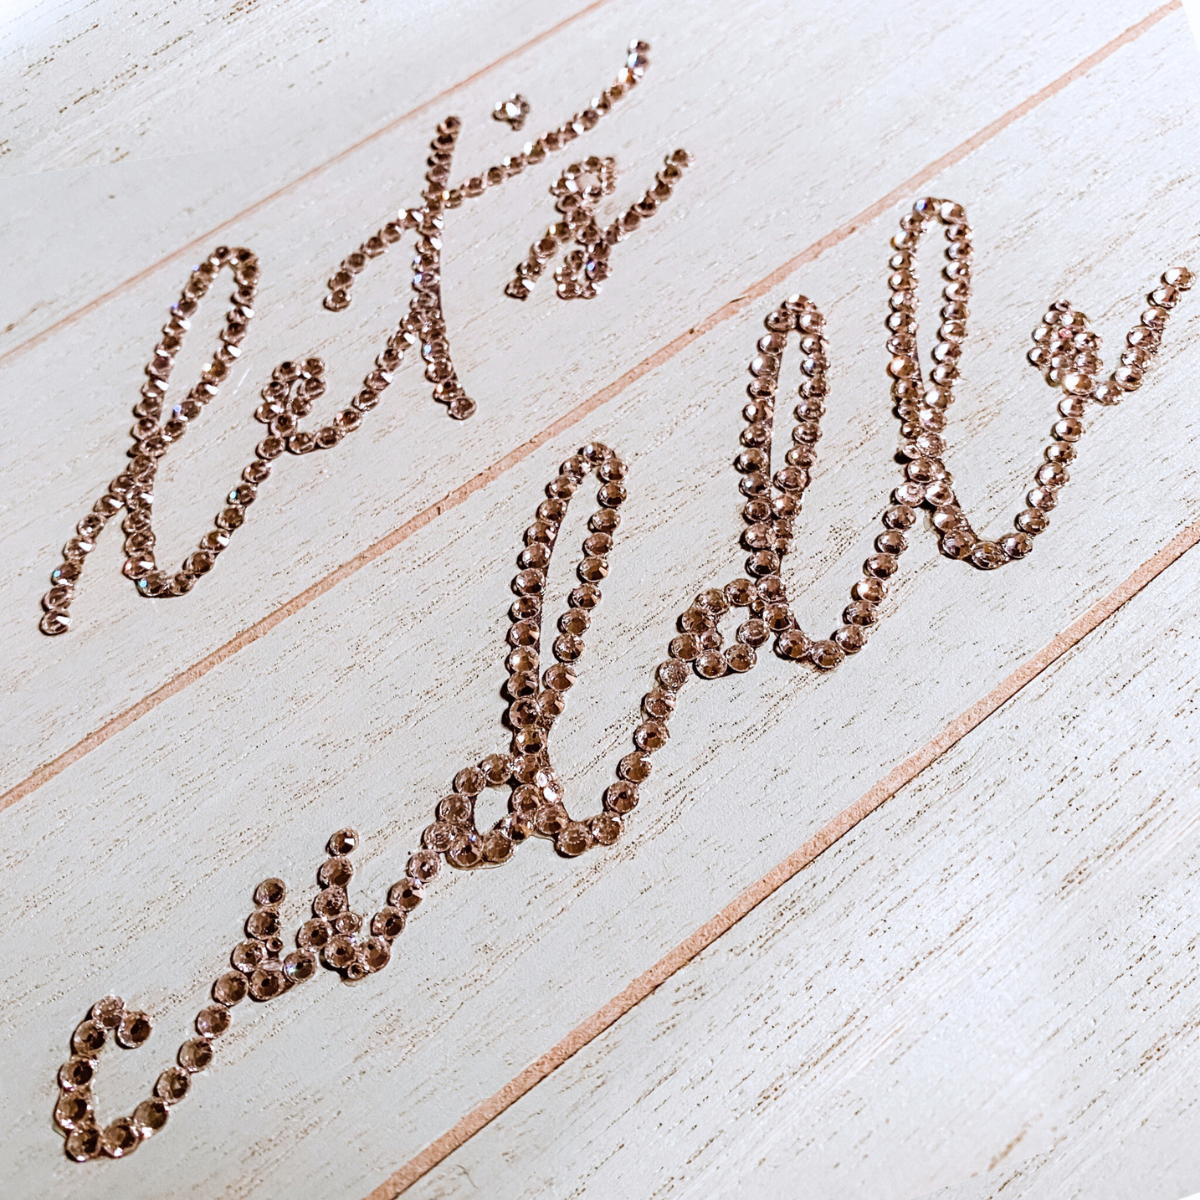
✨ DIY “Let’s Cuddle” Sign: Target Dollar Bin Valentine That Sparkles
Posted by Rhinestones Unlimited on Feb 11th 2020
Want a cute Valentine’s DIY that’s fast, affordable, and guaranteed to make someone smile? This one is chef’s kiss.
We grabbed a “Let’s Cuddle” sign from the Target Dollar Spot for $3 and gave it a glow-up with PriceLess Crystals. It’s the perfect quick craft for a partner, bestie, teen, or anyone who deserves a little extra love (and sparkle) this season.
Skill Level: Easy
Project Time: ~45 minutes
Supplies
Crystals
- PriceLess Crystals in Crystal (Clear) 12ss (main size for the lettering)
- Small “fill-in” stones: use 5ss (or a mix of small sizes) for curves, corners, and tight spots
- Great options we carry: MAXIMA Crystals by Preciosa® (5ss) or LUX European Crystal™ (small sizes)
Tools + Glue
- Crystalline Pick-N-Stick Rhinestone Pick Up Tool
- Crystalline 3cc Syringe Kit (Glue Syringes & Tips)
- E6000 Rhinestone Glue (2oz.)
- Crystalline Magical Tray or a small piece of rigid paper towel (for flipping stones right-side up)
Step-by-Step: How to Rhinestone Your “Let’s Cuddle” Sign
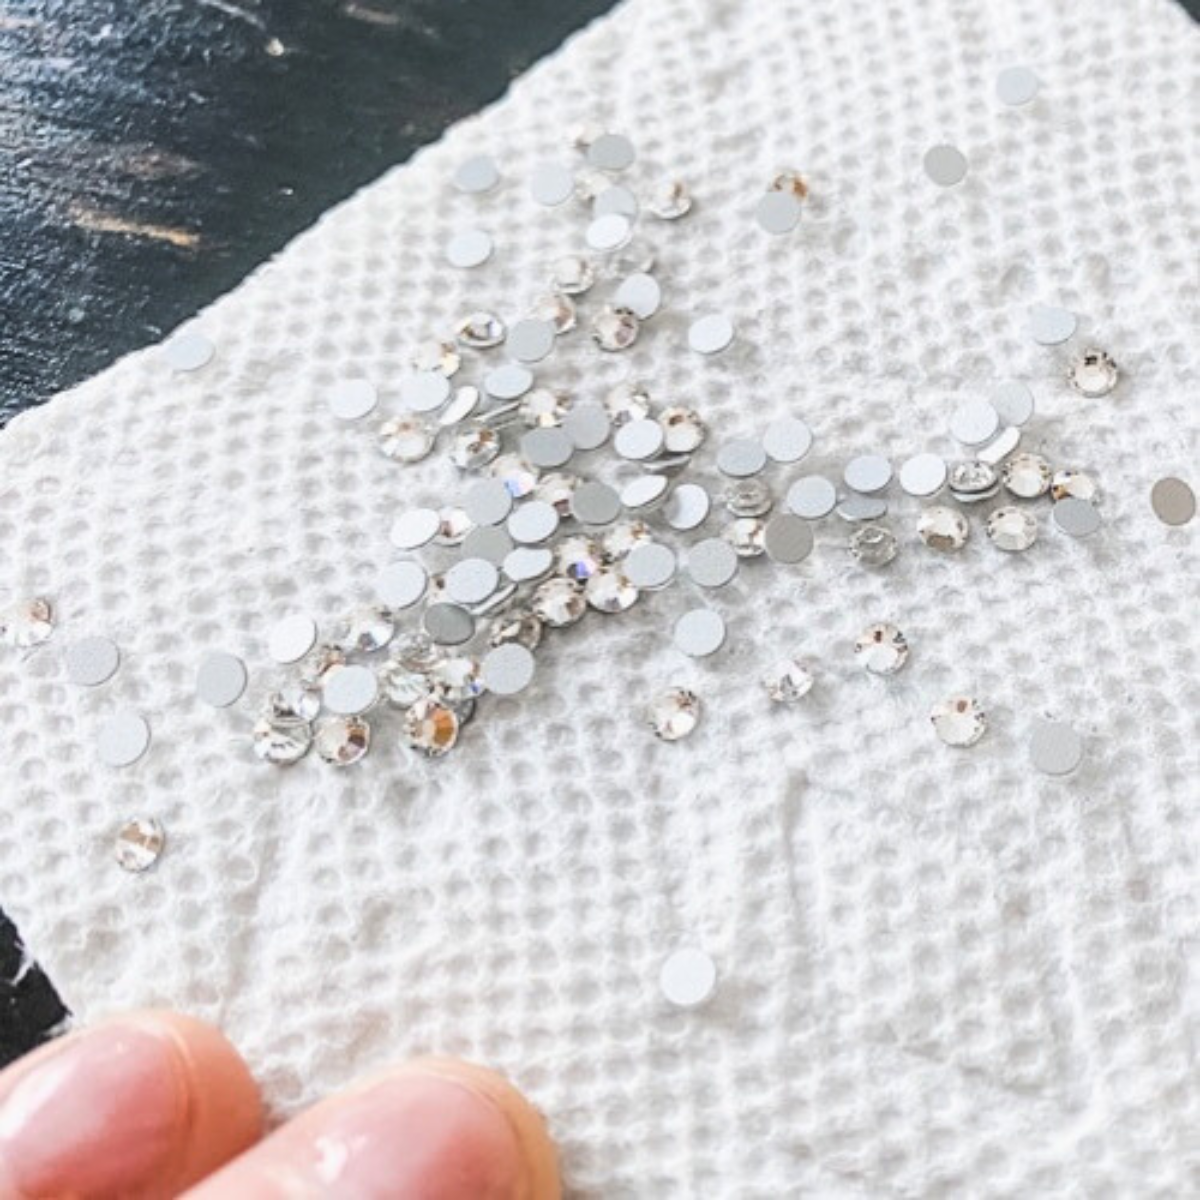 |
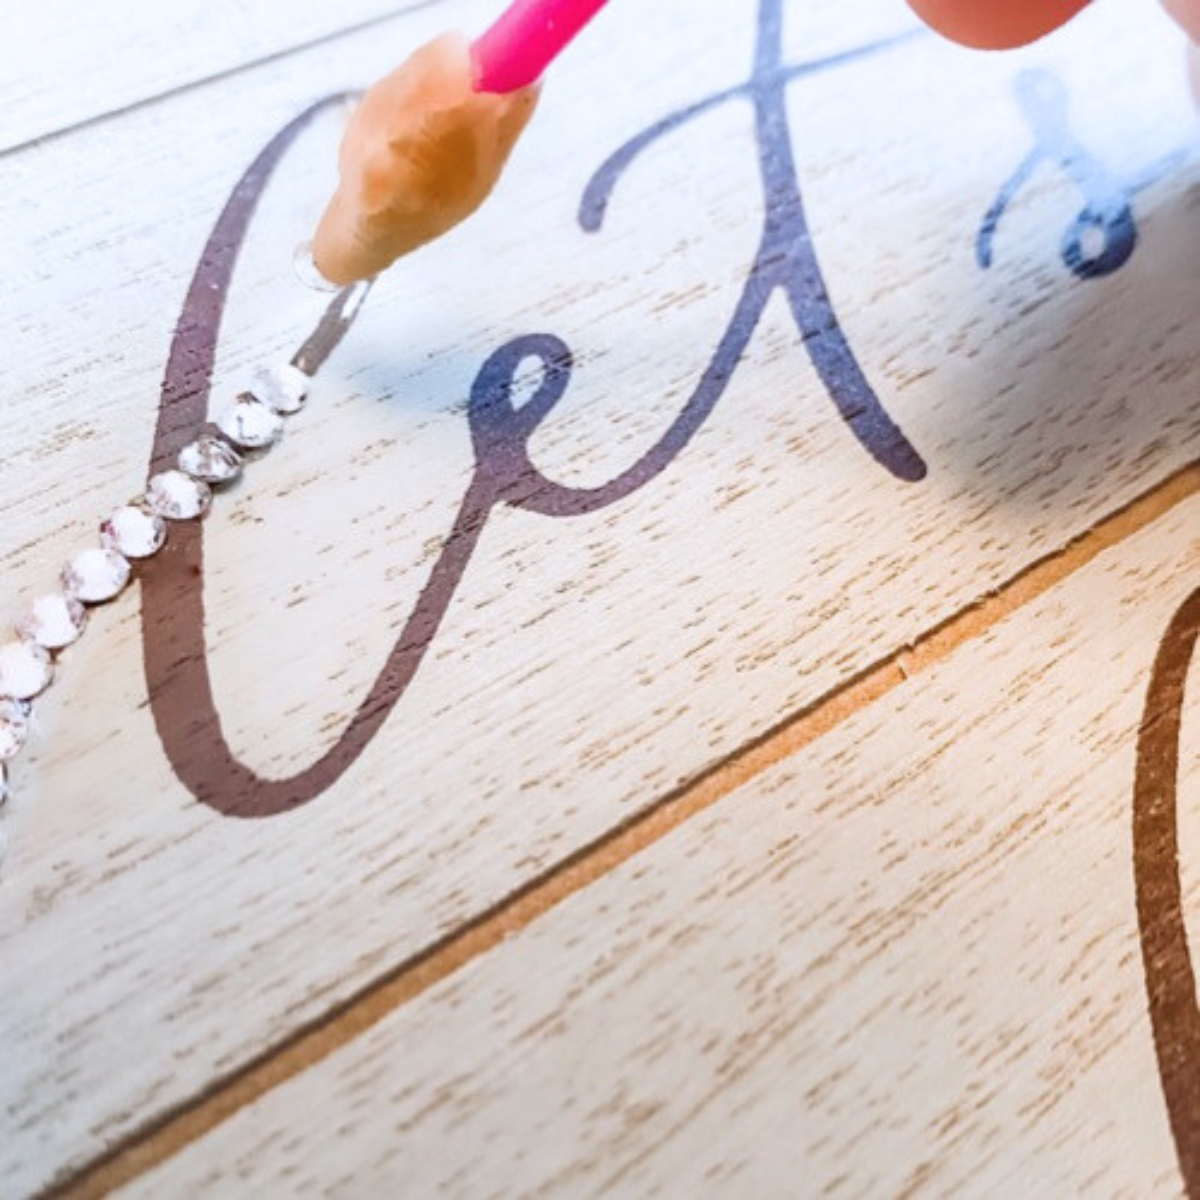
Step 1: Prep your crystalsPour a small amount of rhinestones onto a ridged paper towel and gently shake to help flip the stones face-up (foil side down). Prefer less mess? Use the Crystalline Magical Tray—it does the same job and keeps everything contained. |
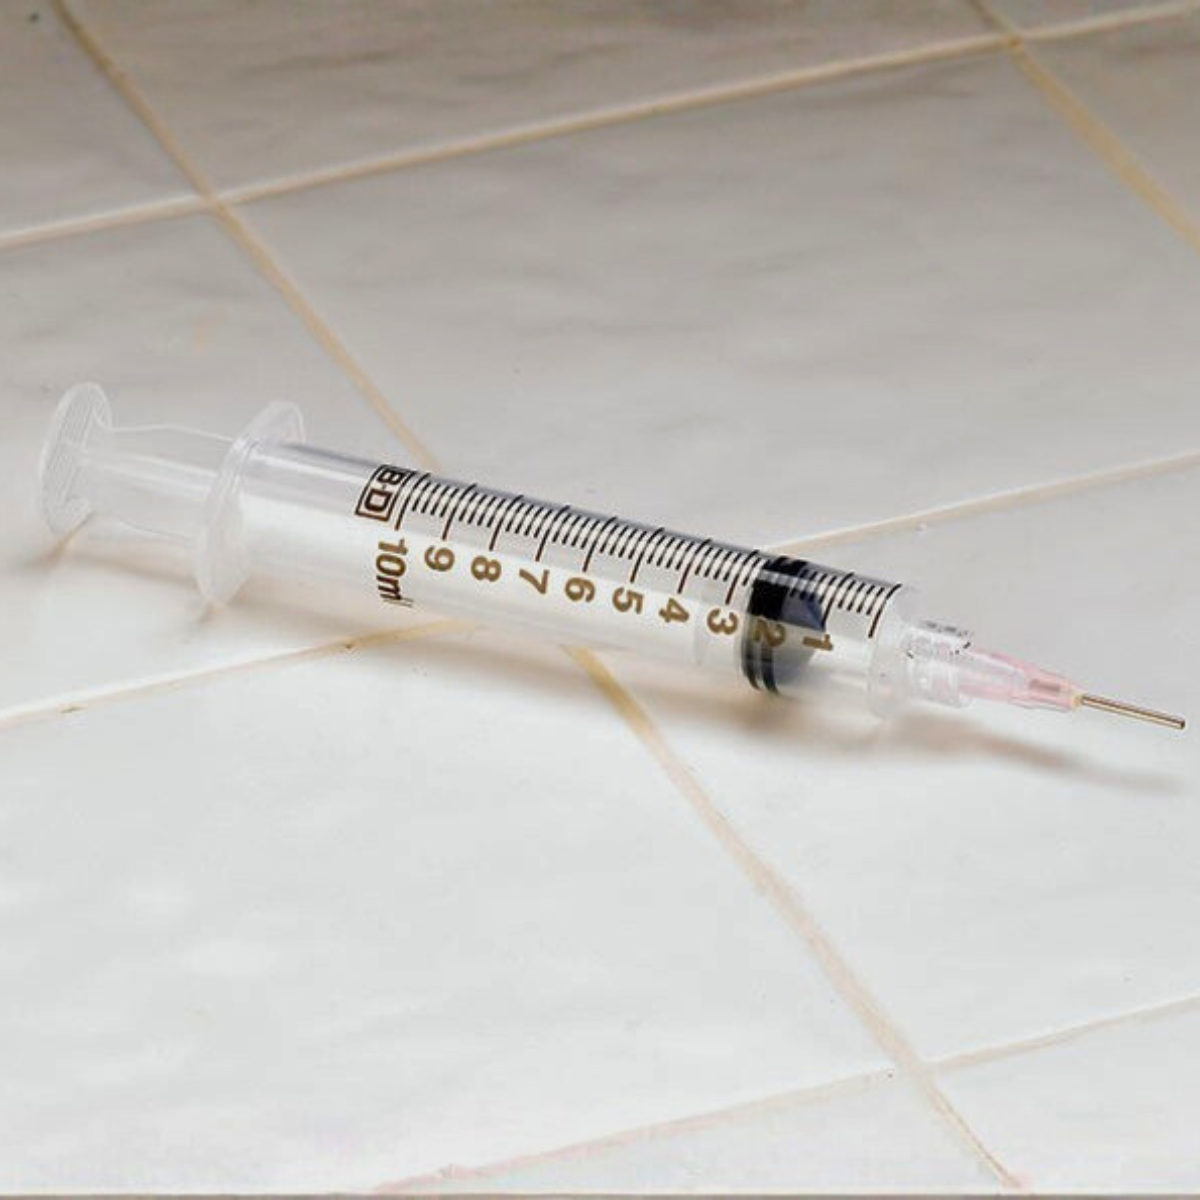 |
Step 2: Load your glue syringeSqueeze a small amount of E6000 into your 3cc syringe.
This little setup gives you way more control than gluing straight from the tube (especially for thin lettering). |
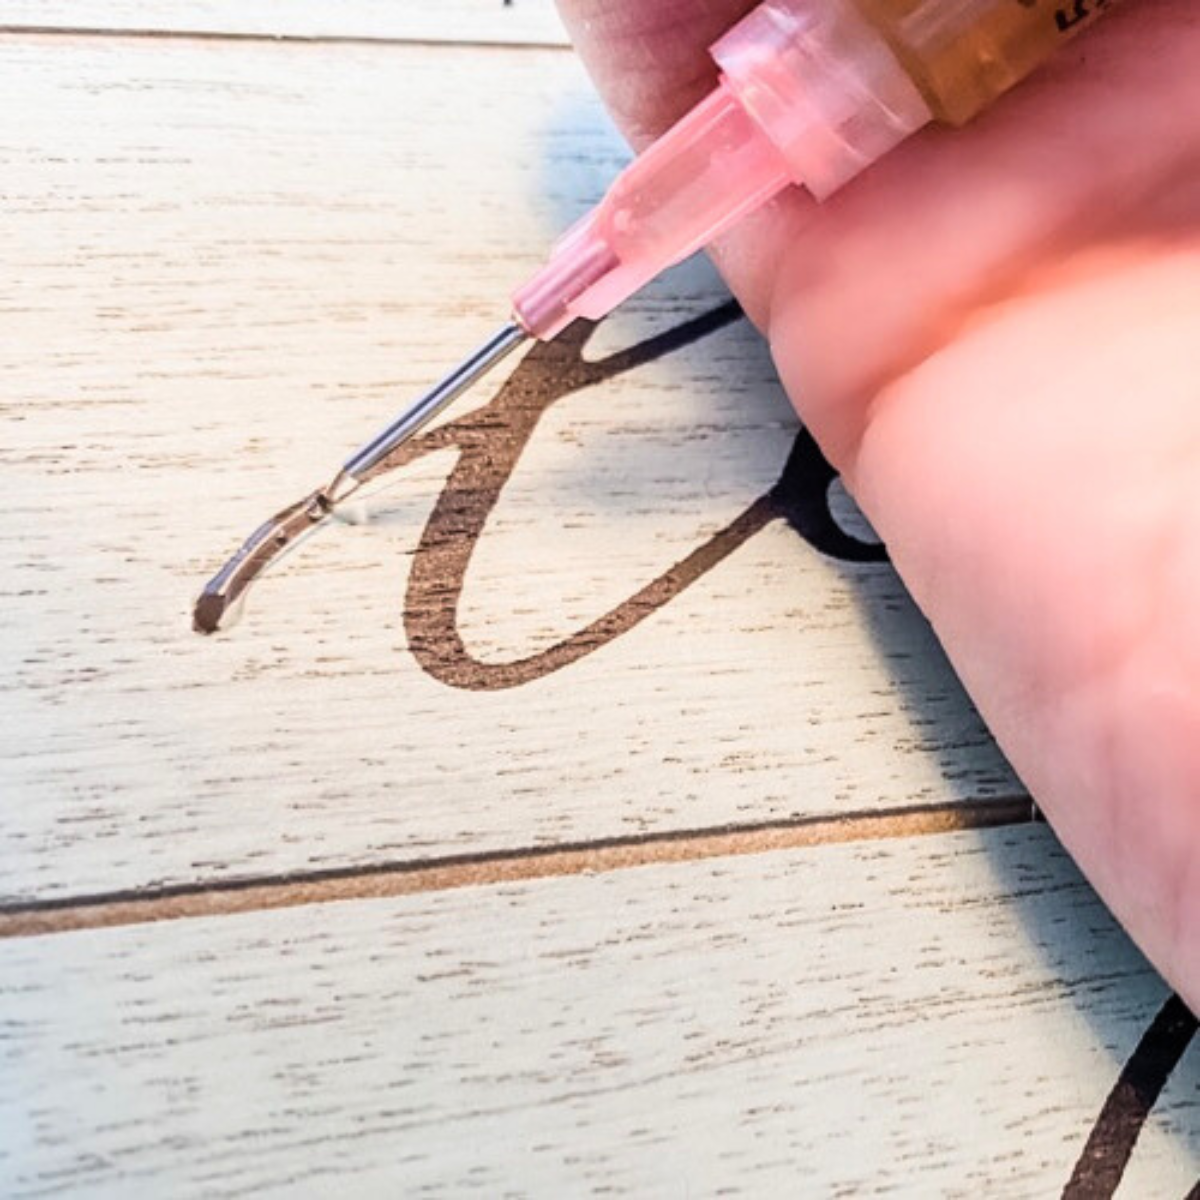 |
Step 3: Apply glue in short sectionsWorking in small sections is the secret to clean lines.
That way your glue doesn’t start drying before the stones go down. |
 |
Step 4: Place your 12ss rhinestonesUse the Pick-N-Stick tool to pick up rhinestones with a gentle touch and place them on the glue line. Keep going until that 1–2 inch section is fully covered, then repeat. |
 |
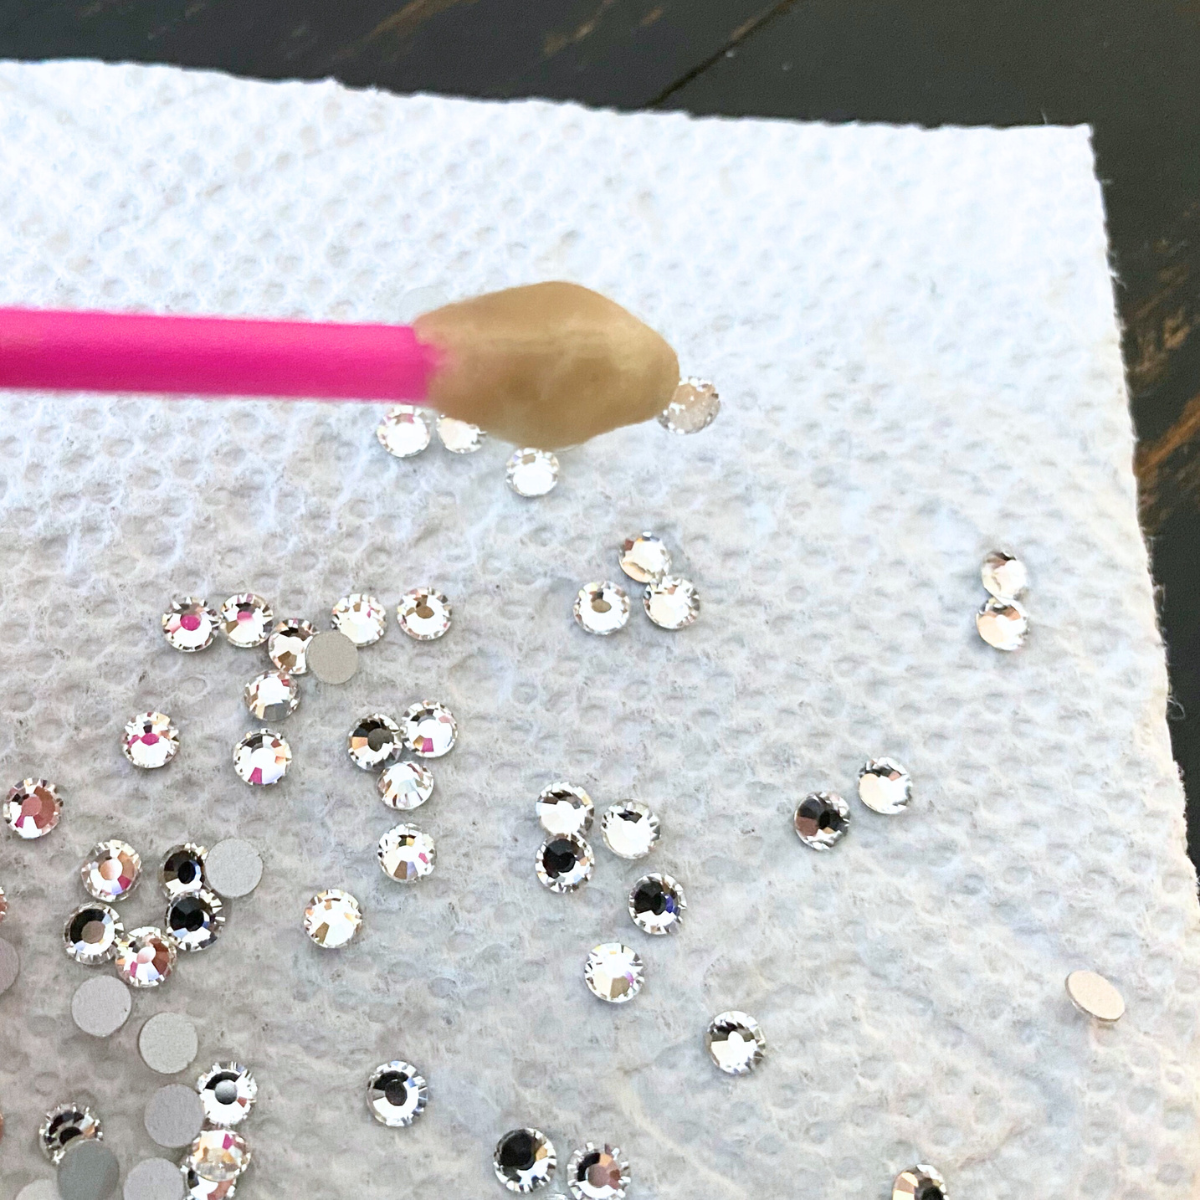
Step 5: Fill in gaps for a “finished” lookOnce the full phrase is done, you may notice tiny gaps—usually in:
That’s totally normal (12ss stones are a little bigger!). This is where 5ss crystals make everything look finished and easier to read. Add small stones anywhere you see spacing, then step back and check your lettering from a few feet away. Pro tip: Keeping a small mix of sizes on hand (like 5ss + 7ss + 9ss) makes projects like this so much easier—especially when you’re working with small fonts. |
 |
Step 6: Let it cureSet your sign somewhere safe and let it dry completely.
|
Make It Valentine’s-Ready With Color
Want to make it extra festive? Try adding accents in:
You can outline the words, add tiny hearts, or add a sprinkle of color just at the corners.