 Bulk
Bulk Crystal
 Crystals
  Sales &
How To Sequin a Superfan Sign
Posted by Rhinestones Unlimited on Sep 30th 2014
In the Minneapolis metro area, Hopkins High School is known in part for their school spirit. I’ve attended many events where the students' coordinated outfits light up the bleachers, and their R-O-W-D-I-E cheers have been delivered so fervently that I've literally been bounced into the air. Add all the little extras and you've got a group of Hopkins Royals superfans. As back-to-school began, the idea for school sparkle in the stands hit, and thus began the story of the sequined sign. 
This project took me an estimated total of twelve hours to construct once I gathered all of my materials. I used:
- 1 Foam core project board, 20” x 30” with a half inch thickness
- ½ Yard of tulle
- ½ Yard of felt
- 1 ½ Yards of strapping
- E6000 adhesive in 10cc syringes
- Pick-n-Sticktool
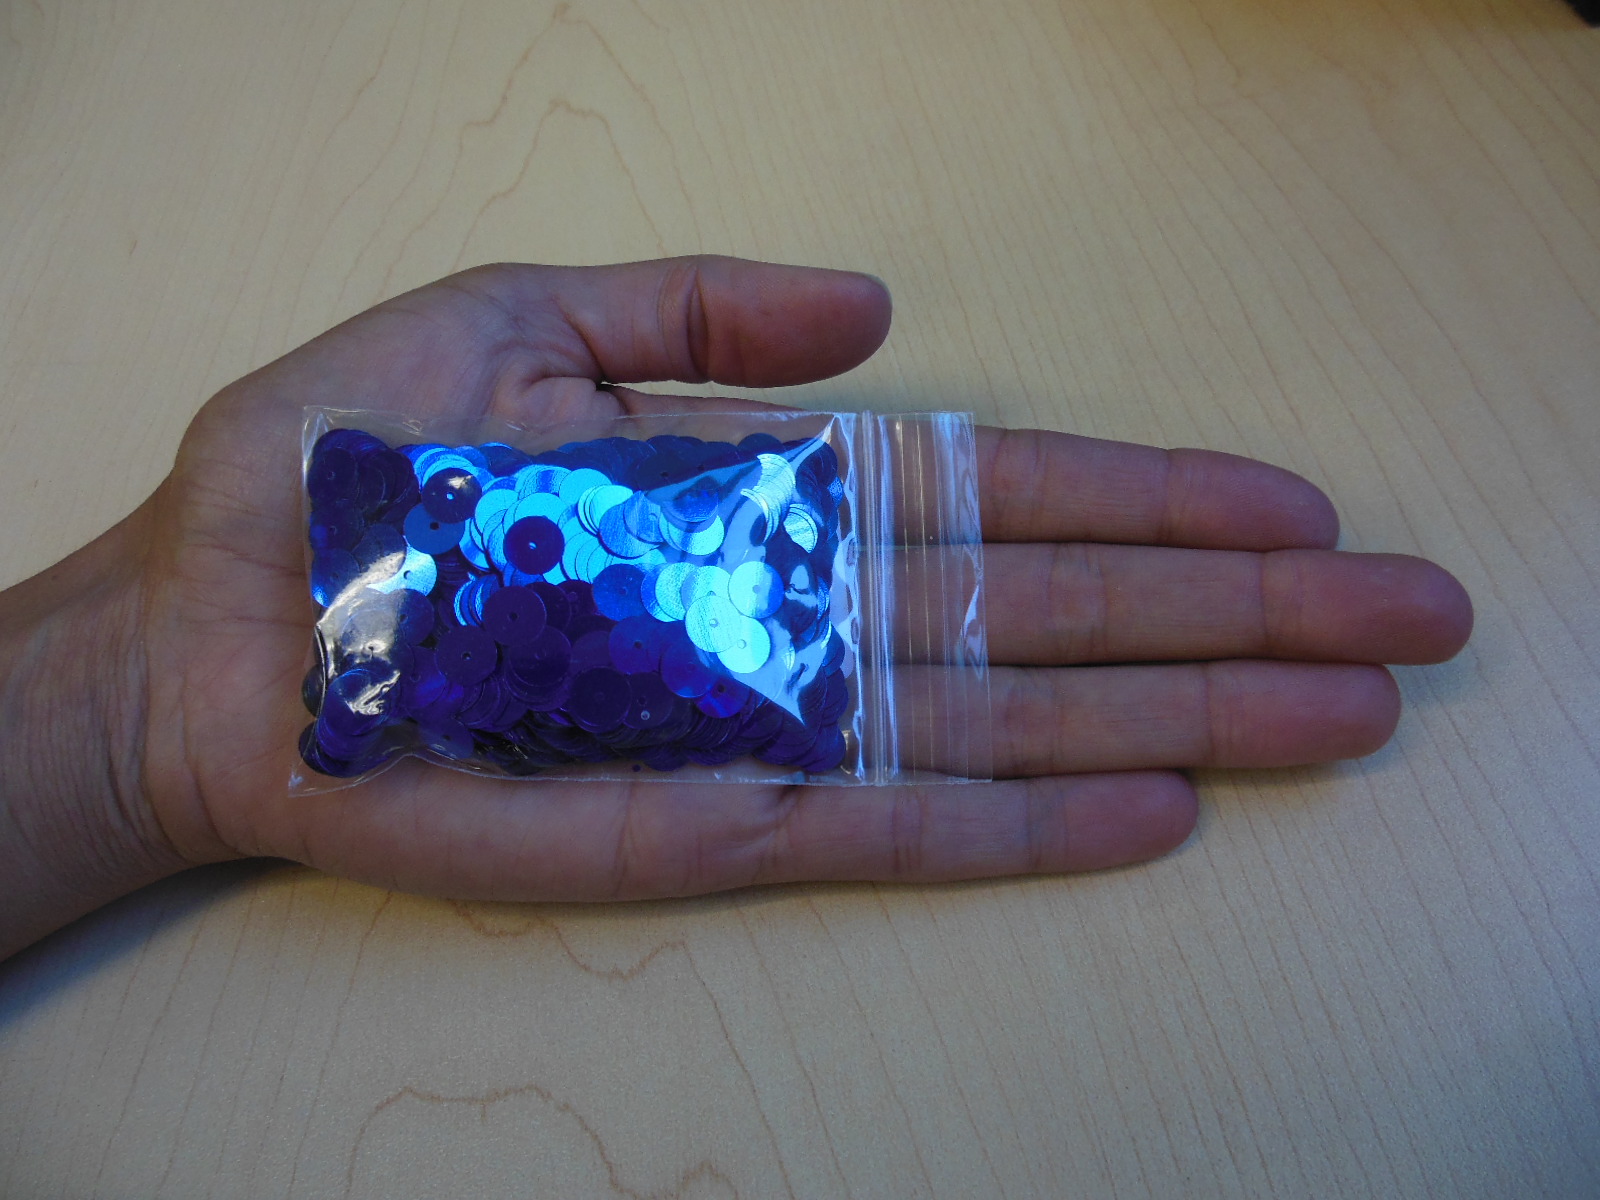
- A handful of Royal Blue Metallic sequins 8mm (approx. 1 ounce or 2 heaping Tablespoons)
- A palmful of Royal Blue Zodiac sequins 8mm (approx. ½ ounce or 1 heaping Tablespoon)
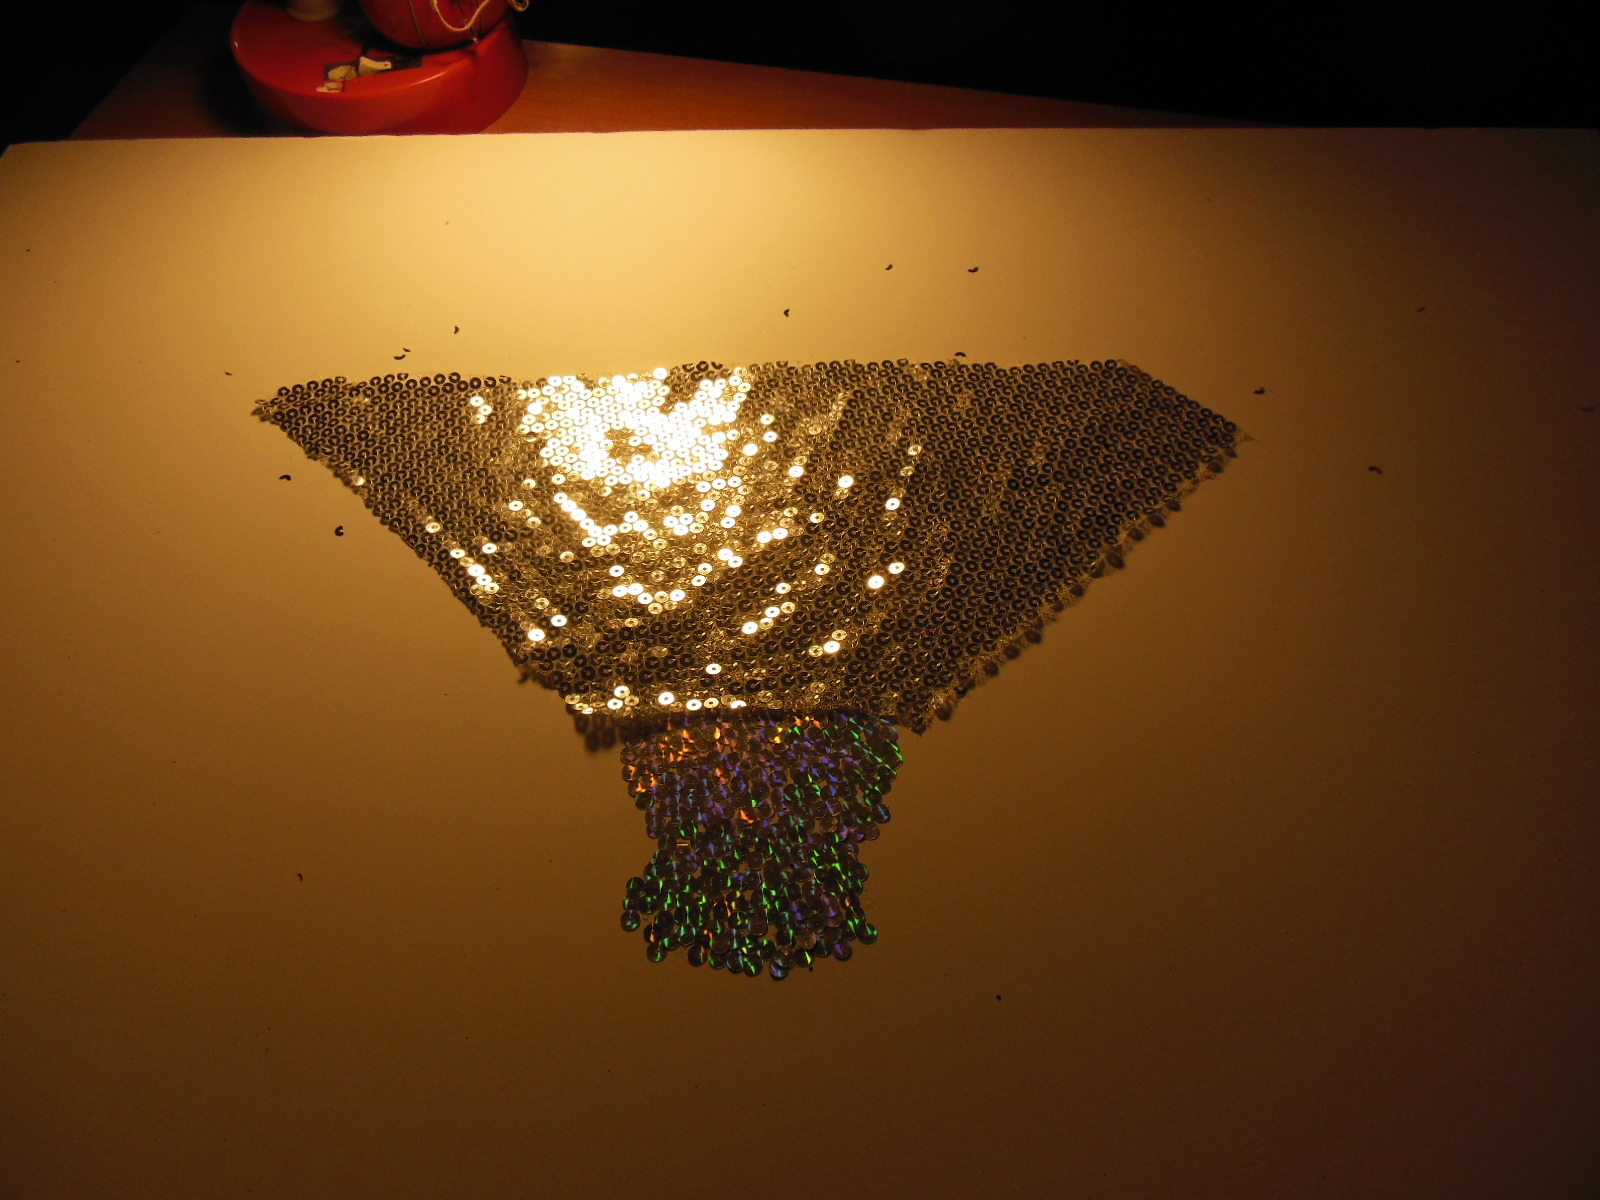
- A smidge of Silver Zodiac sequins 8mm AND an 8”x 8” scrap of silver sequined fabric

---OR---
- A small palmful of Silver Zodiac sequins 8mm (less than ½ ounce or 2 heaping teaspoons)
- Blow up logo. I opted for two copies in black and white- a fifth of the price of an oversized color copy at the copy center- and blew it up 200%. Now 16” high by 22” wide, this filled most of four sheets of regular paper, and fit nicely in the center of my 20”x 30” foam core board. Had I wanted to splurge, I would have glued the colored logo onto the foam core, wrapped tulle over it and applied the sequins onto the tulle; as it was, I altered my plan to use inexpensive blue felt as the sequin base.

- Pin logo to felt. Because this logo is symmetrical, I cut the first copy in half, reserving the second copy for backup. Then, I pinned the cut edge to the fold of the felt, which will open up to be one full felt shape. If your design is intricate, it may be helpful to cut out the logo completely from the paper before pinning it to the fabric.
- Cut out felt. You could also take this opportunity to press your fabrics.
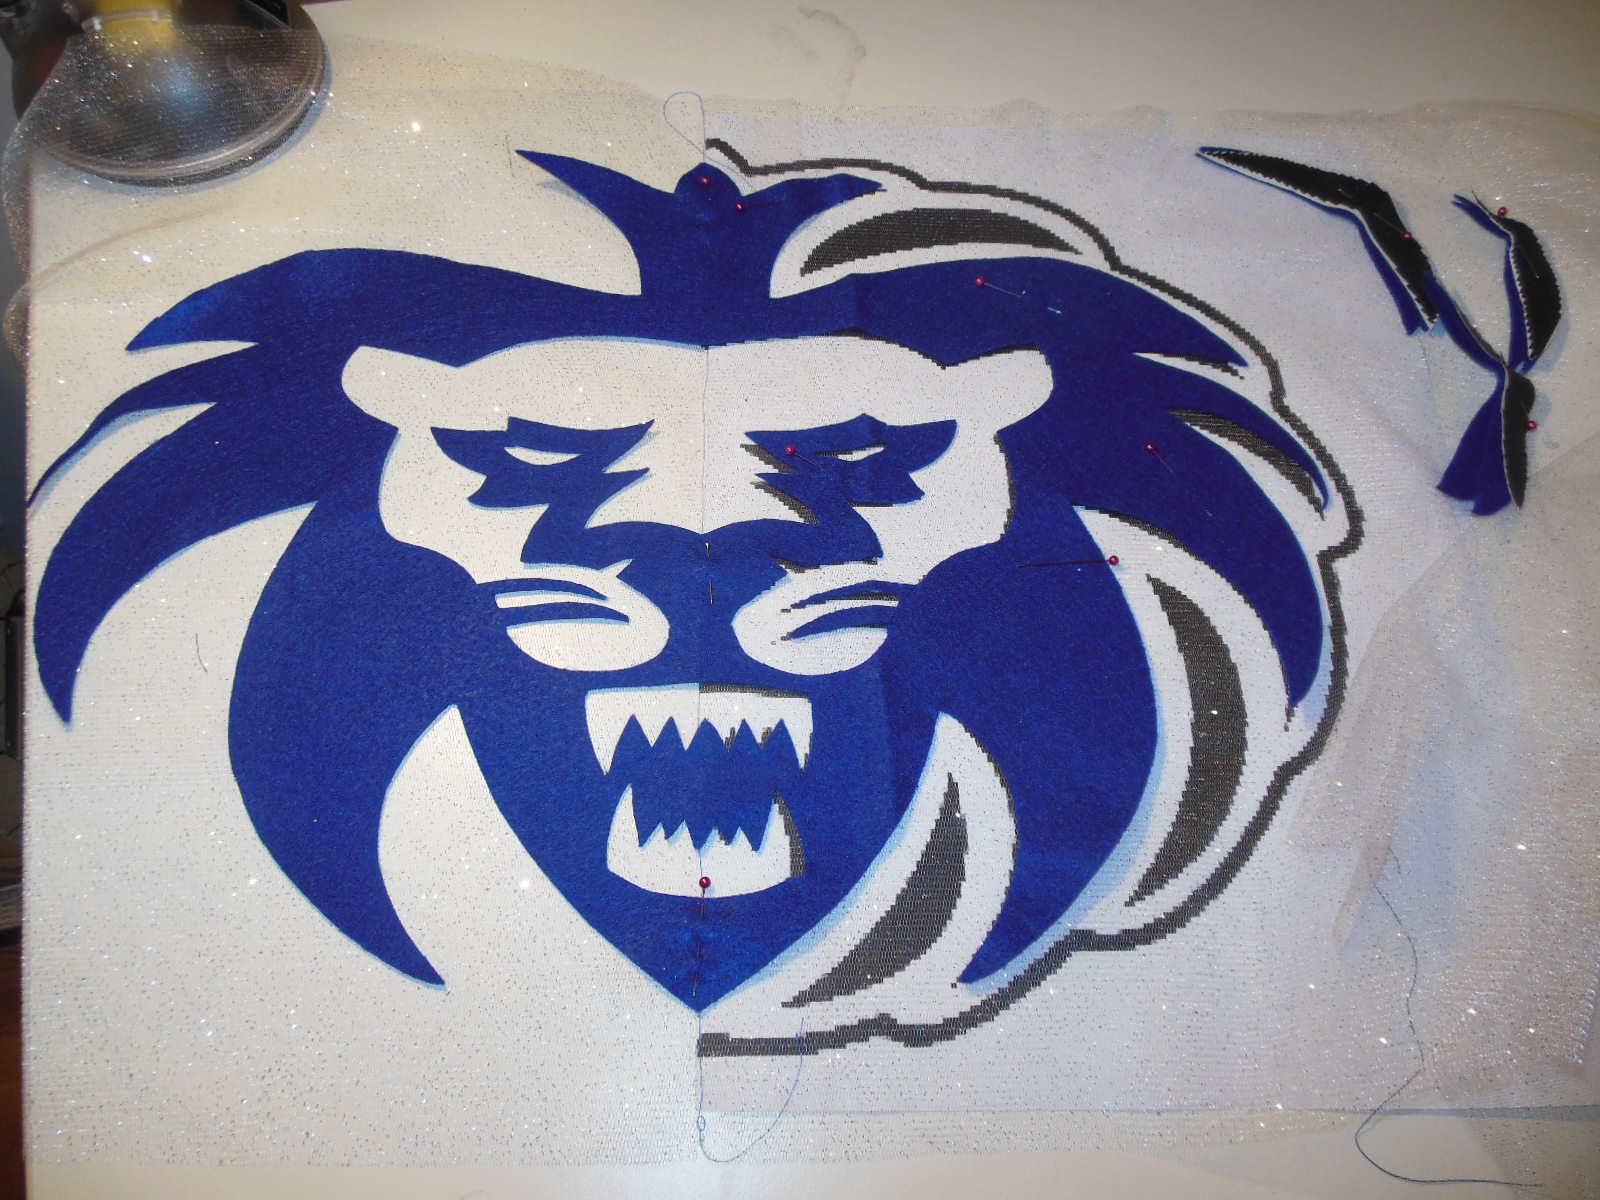
- Hand baste felt to tulle.
- Sew hand straps to ends of tulle. I just took some strapping (heavy ribbon would also work) and tacked it to the two edges of tulle which would be wrapping around the back. I used a machine to secure the top, then stitched in loose hand-sized intervals along the length of the strapping before securing the bottom. Don’t worry about measuring- different sized loops mean they can fit different sized hands.

- Practice gluing sequins to felt scrap. Do not forget this step with any embellishing project. Adhesives can behave differently on new materials, so always do a test run on a scrap of fabric or an unseen part of the project. This way, you also nail down the spacing of the glue dots and work out the rhythm of the project.
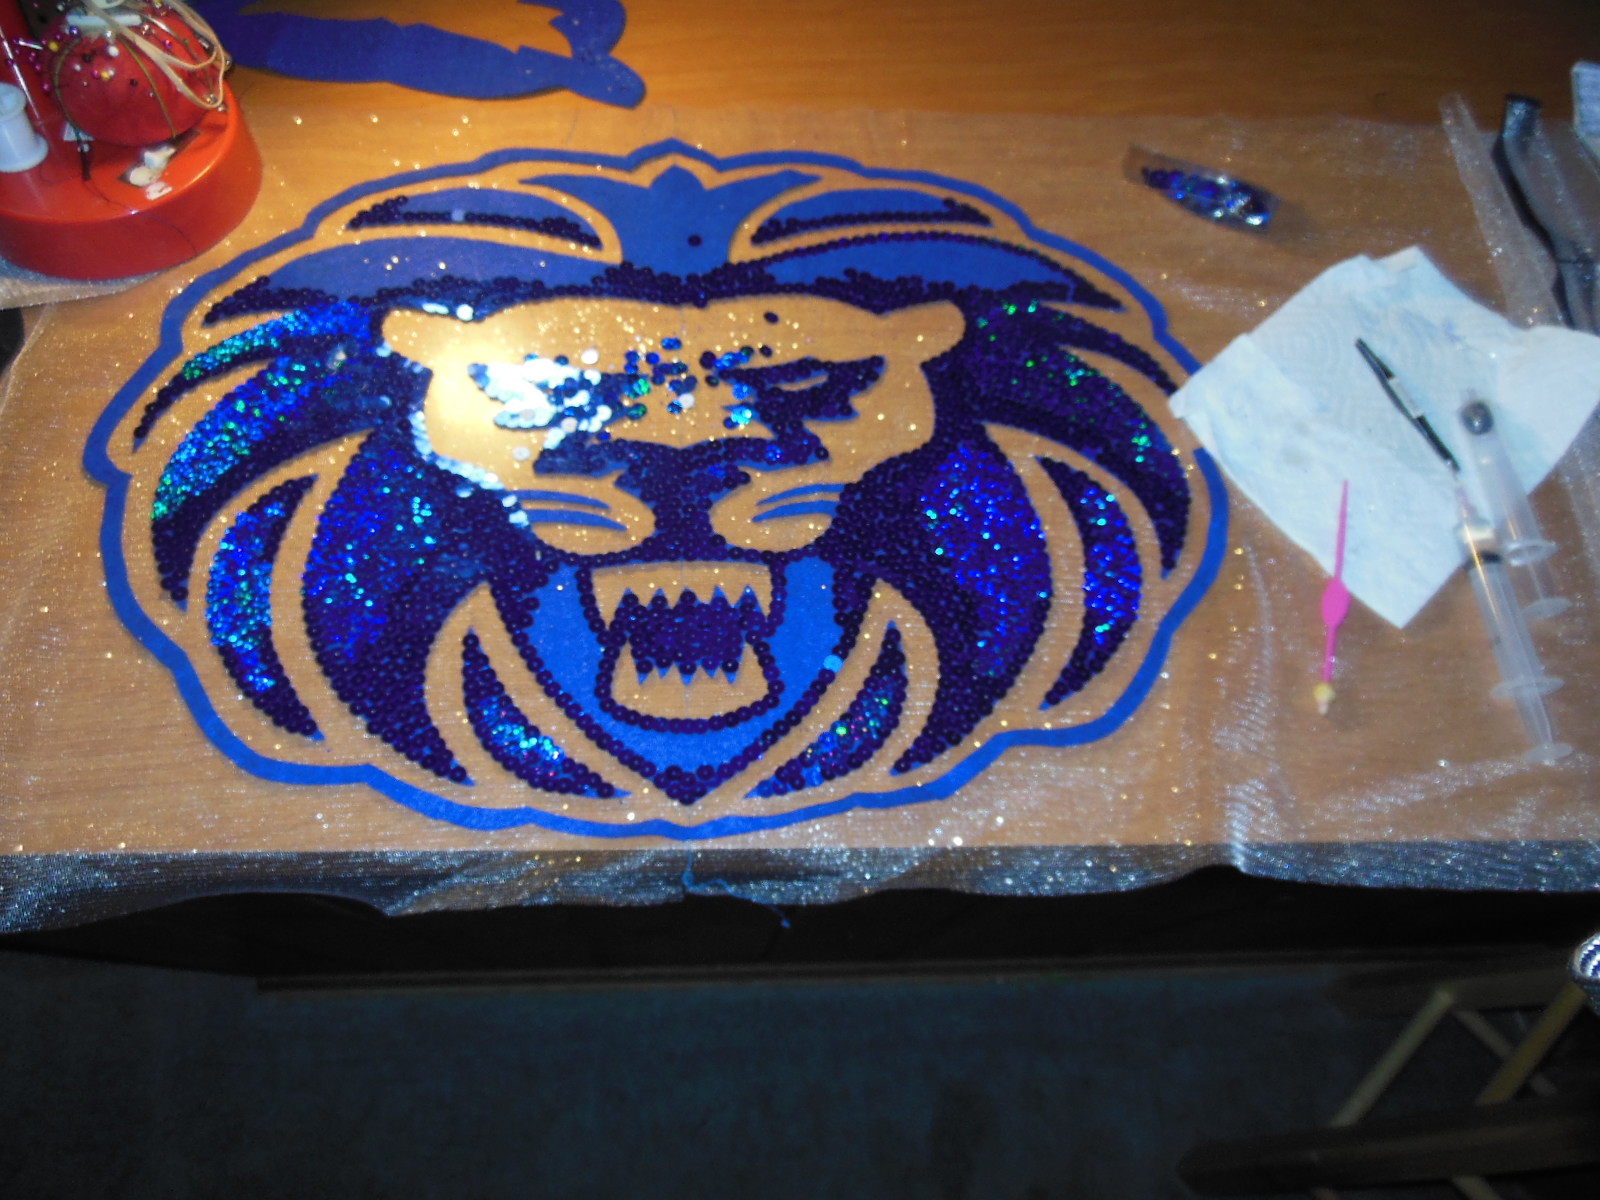
- Start at the center and work out, along the perimeter of a small area. I chose to overlap the sequins slightly. Using a syringe with dense E6000, I made about 20 small dots of glue along the edge, then used a wax-tipped Pick-n-Stick to pick up the sequins and center the sequin hole over the dot of glue. You’ll find it’s an easy process, though it does take time to fill in a large area with small sequins.
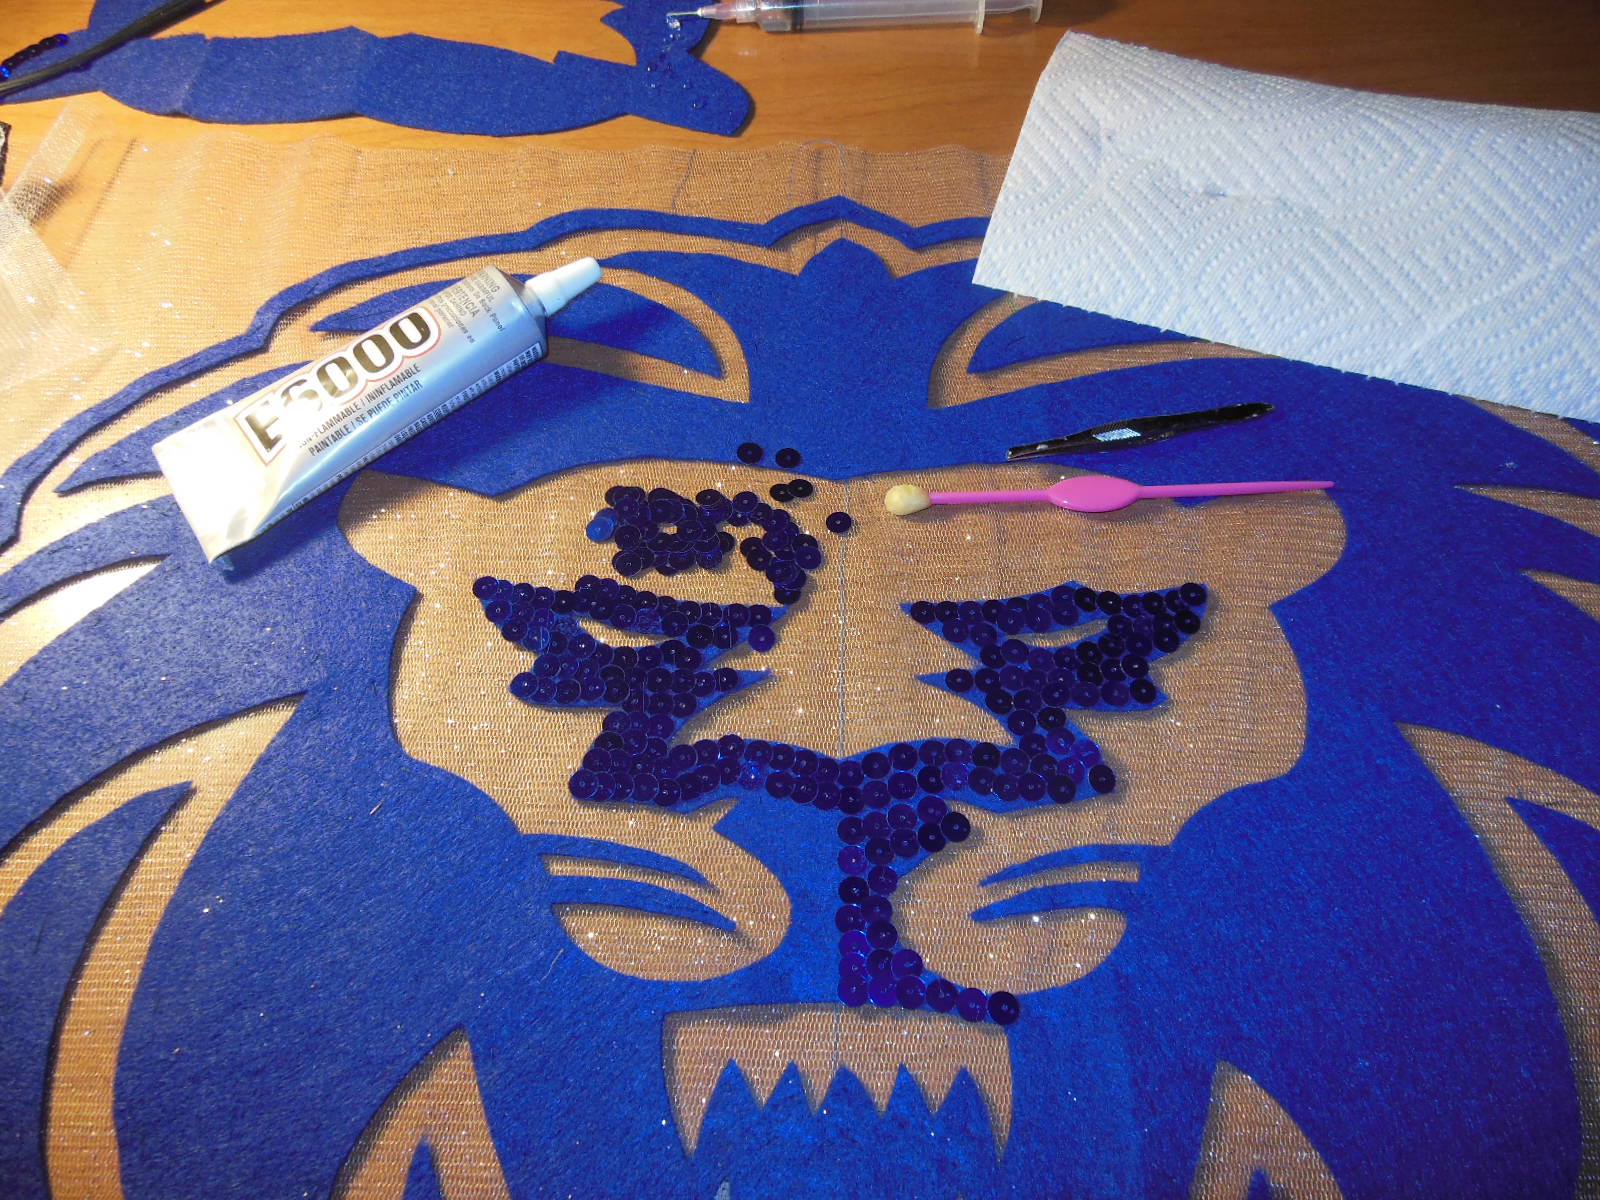
- Start at the center, mirror the other side of symmetrical area. Repeat this process throughout, working a small area on one side, then repeating it on the opposite side. In this way, you keep symmetry. If you start running out of sequins, you start running out of sequins evenly!
- Fill in tight areas and shadowed areas. For shadowed areas, I used Royal Blue Metallic sequins in 8mm.
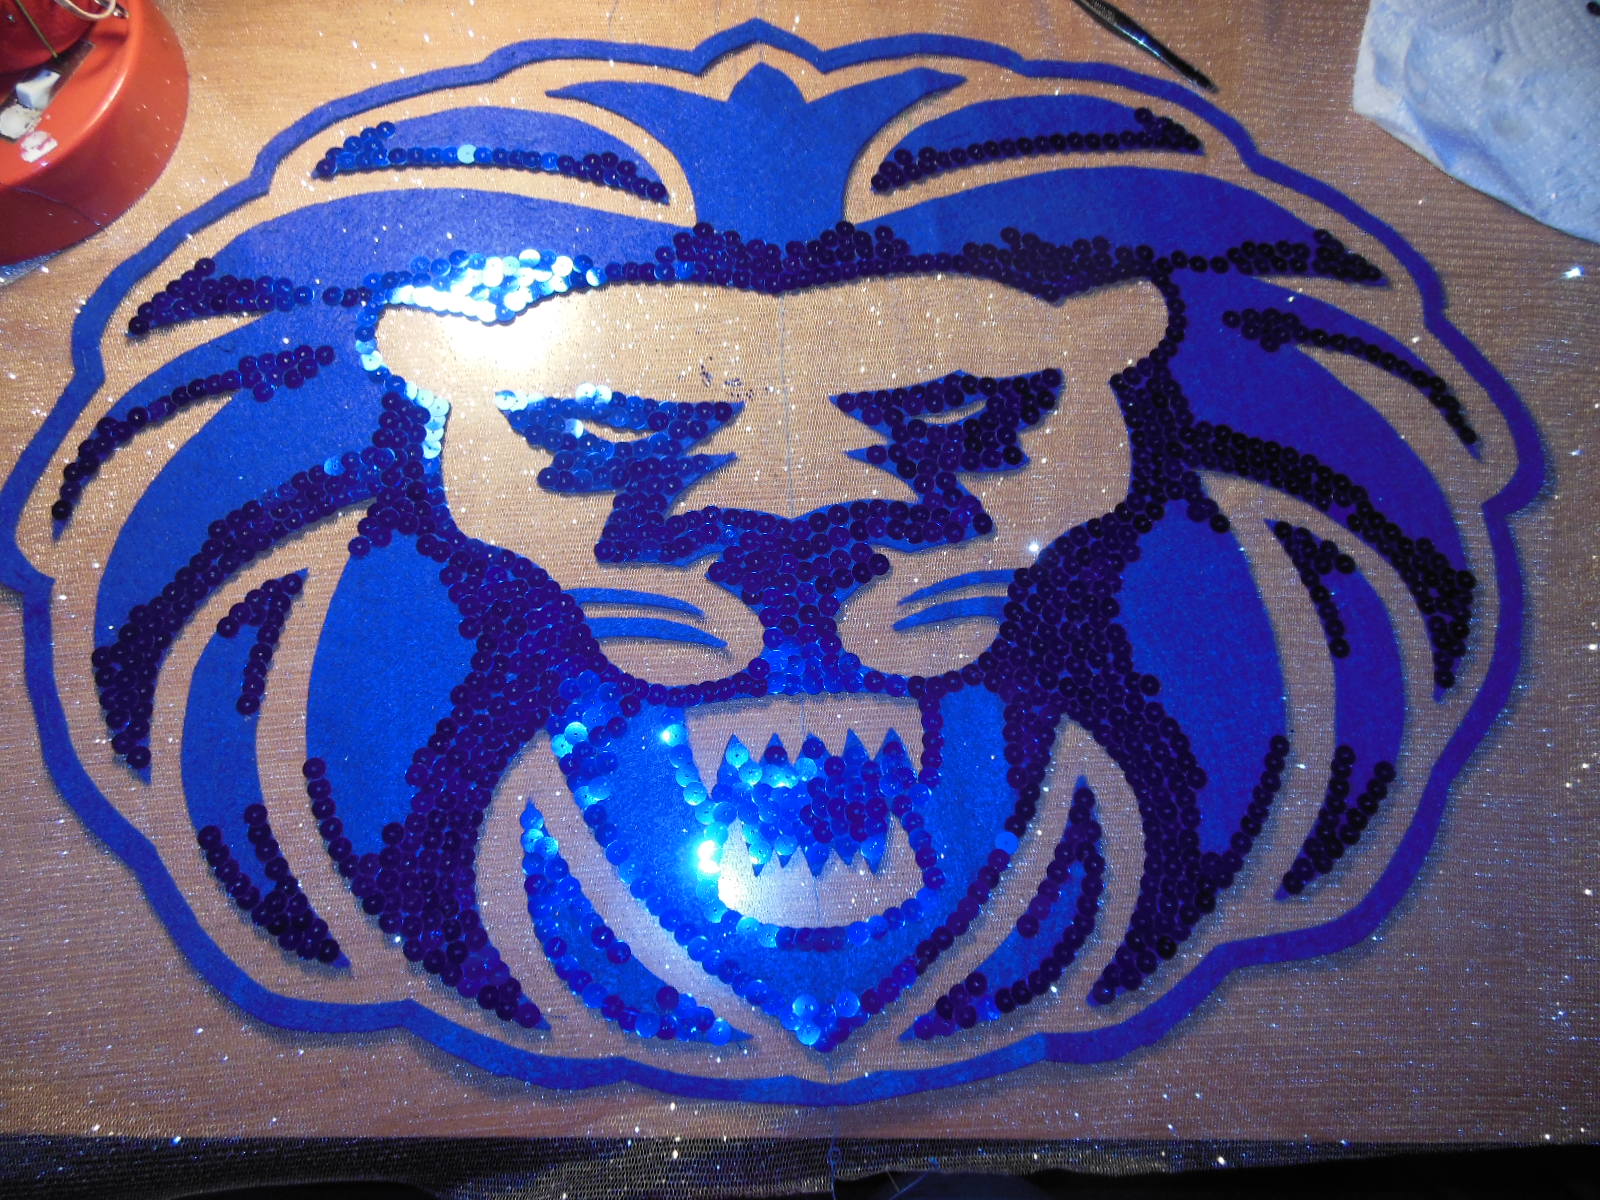
- Outline perimeter of highlighted area. For highlighted areas, I used Royal Blue Zodiac sequins in 8mm.
- Fill in highlighted areas.
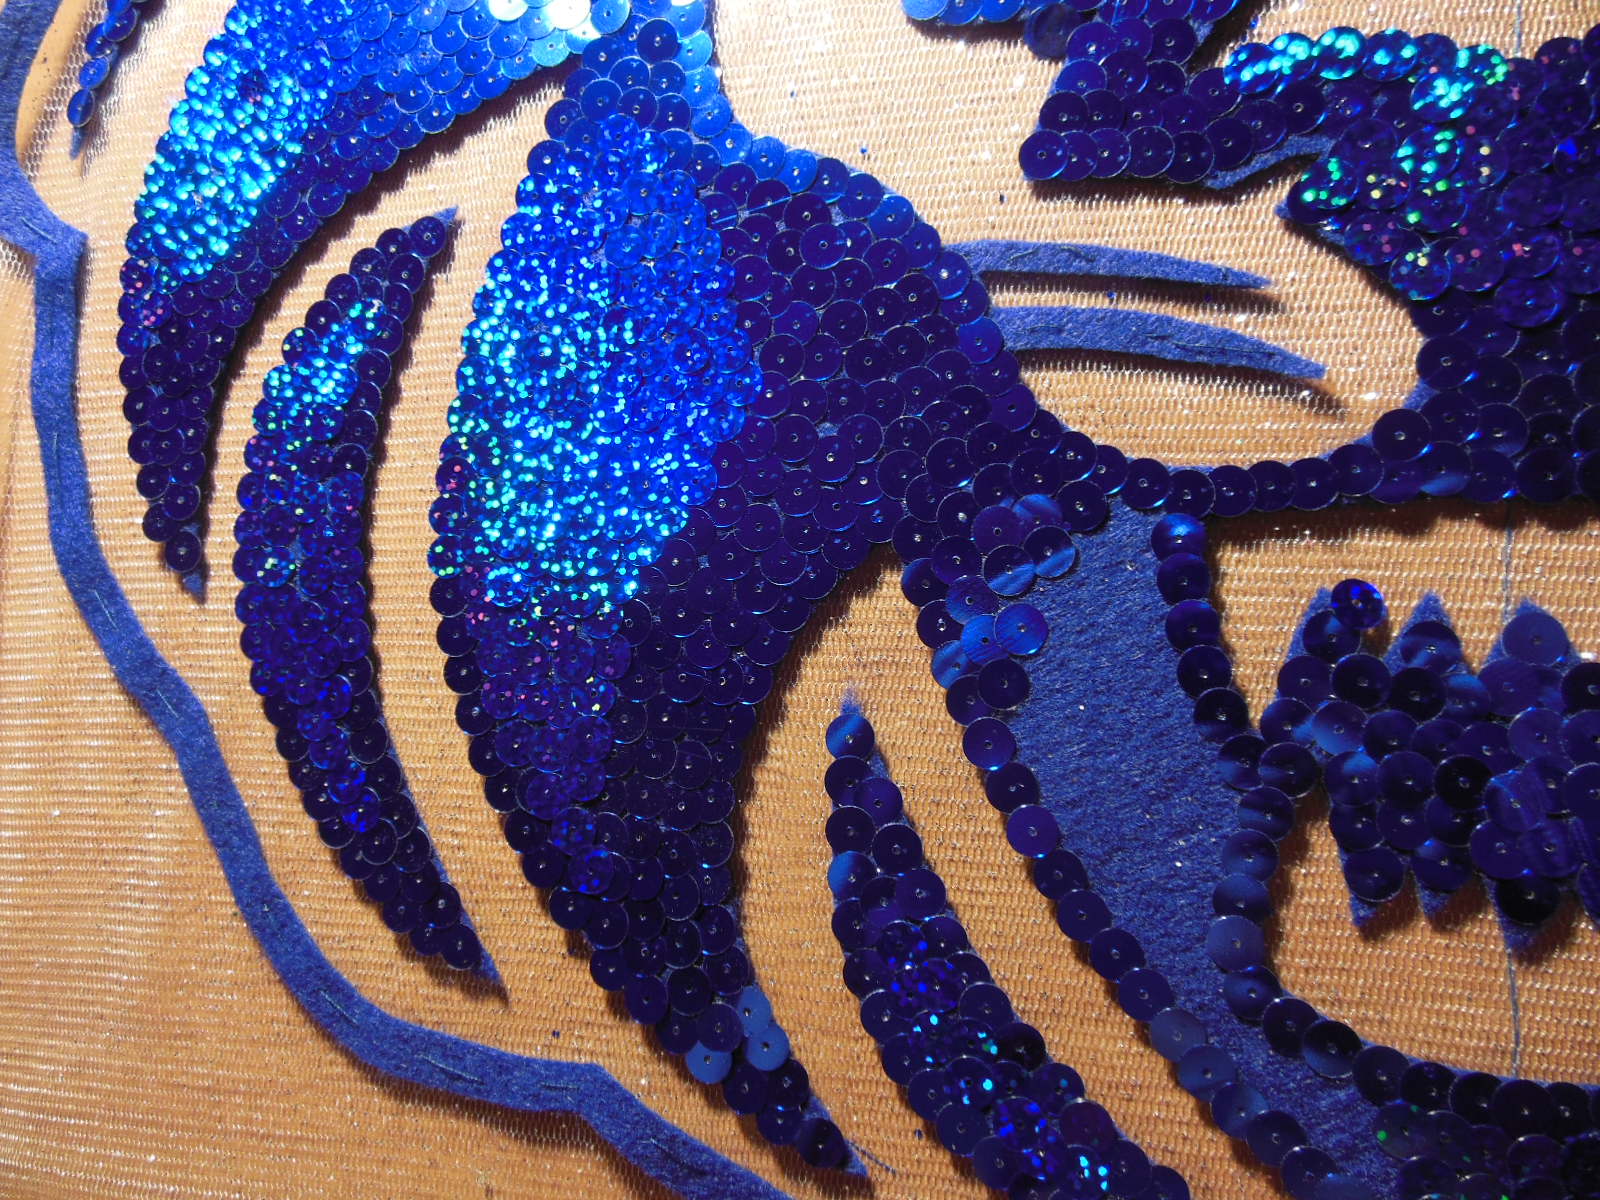
- Add detail. For me, this meant blending the shadowed and highlighted areas by interspersing Zodiac sequins in the areas that they met; bending a dozen or so Metallic sequins to fit in the tight whiskers and outlining the crown of the mane with Silver Zodiac sequins for a subtle highlight.
- Mark centers of board. On the unseen edge, mark the center of the top and bottom and of the two sides.
- Sequin the board. I had a scrap of silver sequined fabric lying around, so I cut out a rough shape to slip underneath the cutout face of the lion, and glued it to the board. Where the eyes and mouth open up, I added Silver Zodiac sequins in 8mm.
- Attach the fabric top layer to the board. After aligning my centers, I stapled the tulle to the unseen edges, starting in the center and working out. Once I confirmed that the tulle was where I wanted it to be, then I glued down all fabric edges, finishing the ends with a white ribbon (to help cover up the craft mechanics and create a cleaner look). For reinforcement, I also stapled the strapping to the board in the places that I had stitched it.
- Give a discreet “this side up” hint. No one wants to be on the Jumbotron holding their sign upside down. How embarrassing. I chose to add the words “Hopkins Royals” near the top of the back side. If the holder can’t read the words, they know immediately to turn it right-side-up.


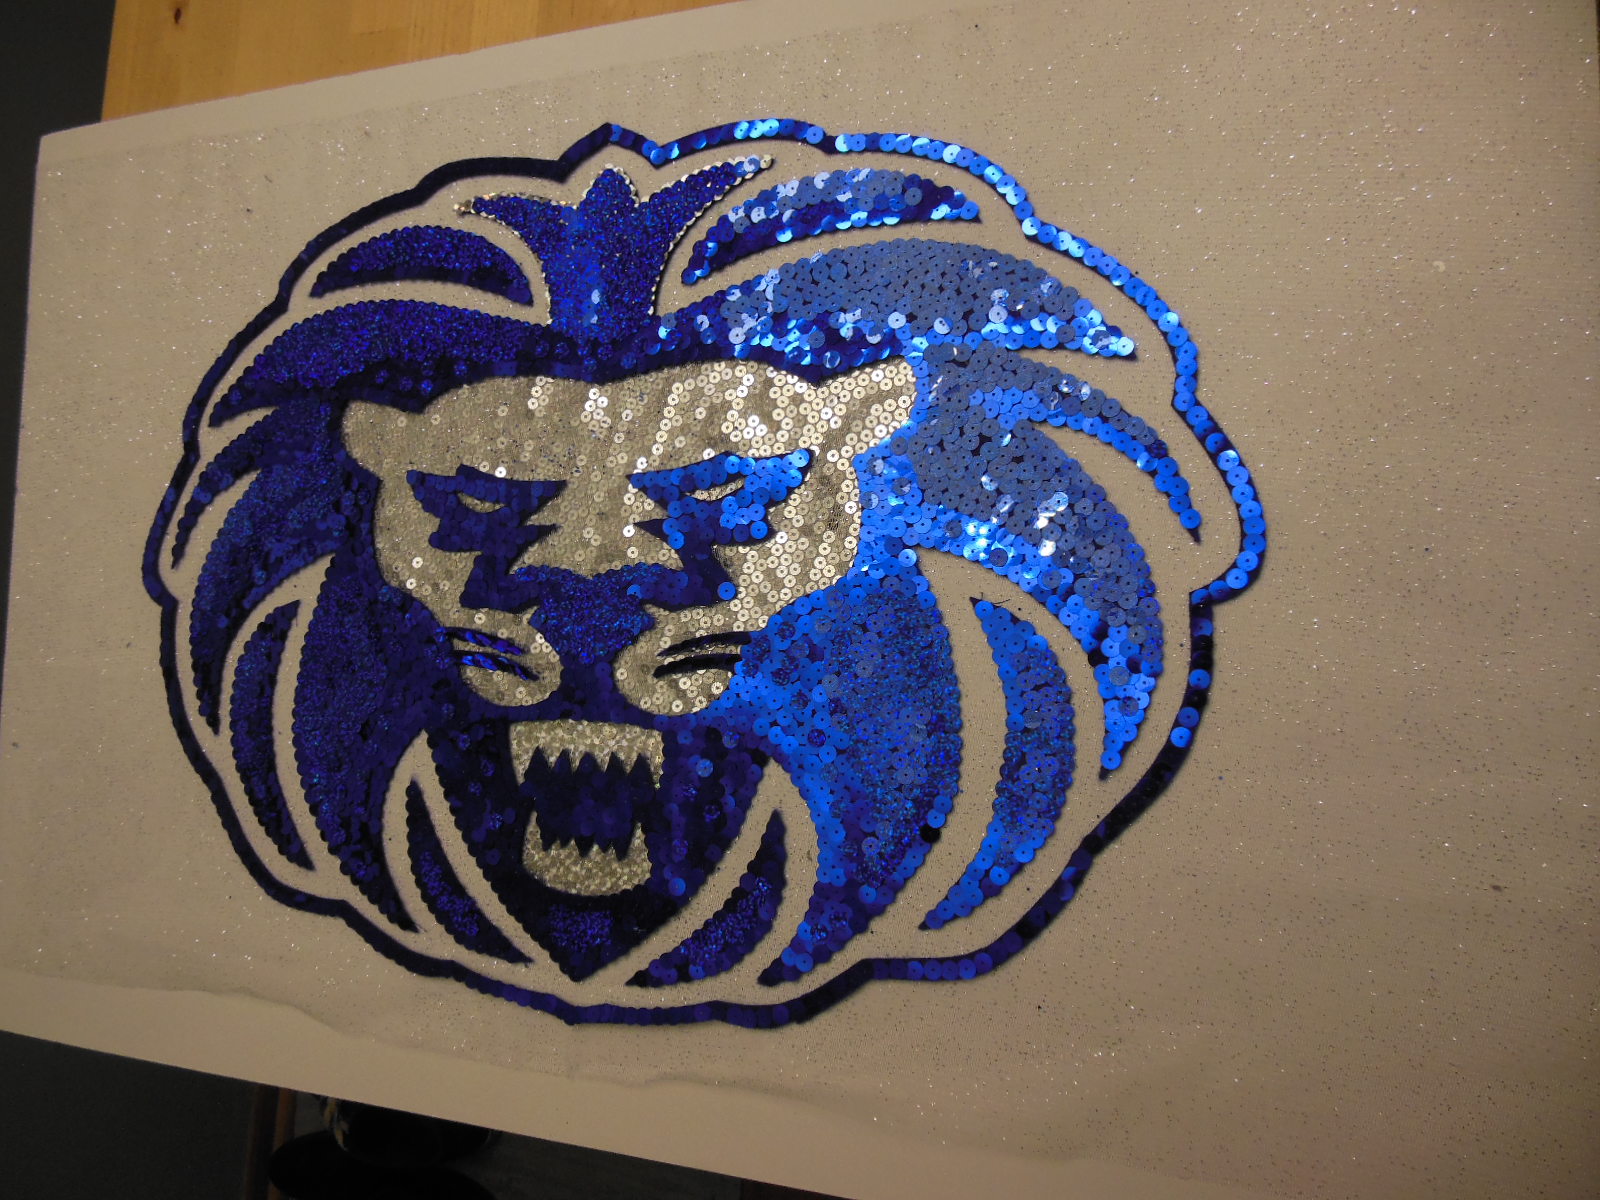
So, that's that. All's well in the world of school sparkle, and the first time the sign made its way through the crowds, it overheard oohs and ahhs and compliments of its finery, even before it debuted to rouse the superfans into a sparkly frenzy. Sequins can be under-appreciated, but let us not forget they are very forgiving and have the amazing skill to bring a lot of glitz into low budget projects. They also blend seamlessly into mixed media sparkle projects- try them alongside rhinestones!
-xo-
Jemm
Rhinestones Unlimited blog author Jemm Stone is a multifaceted girl navigating our sparkly world with on-point insights. Visit Blog.RhinestonesU.com to follow her thoughts as she highlights design trends, turns the spotlight on industry influencers and breaks down how-to tips like light through a crystal prism. 