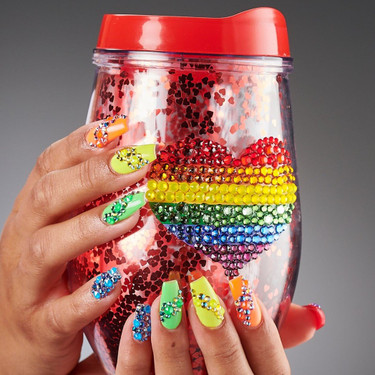
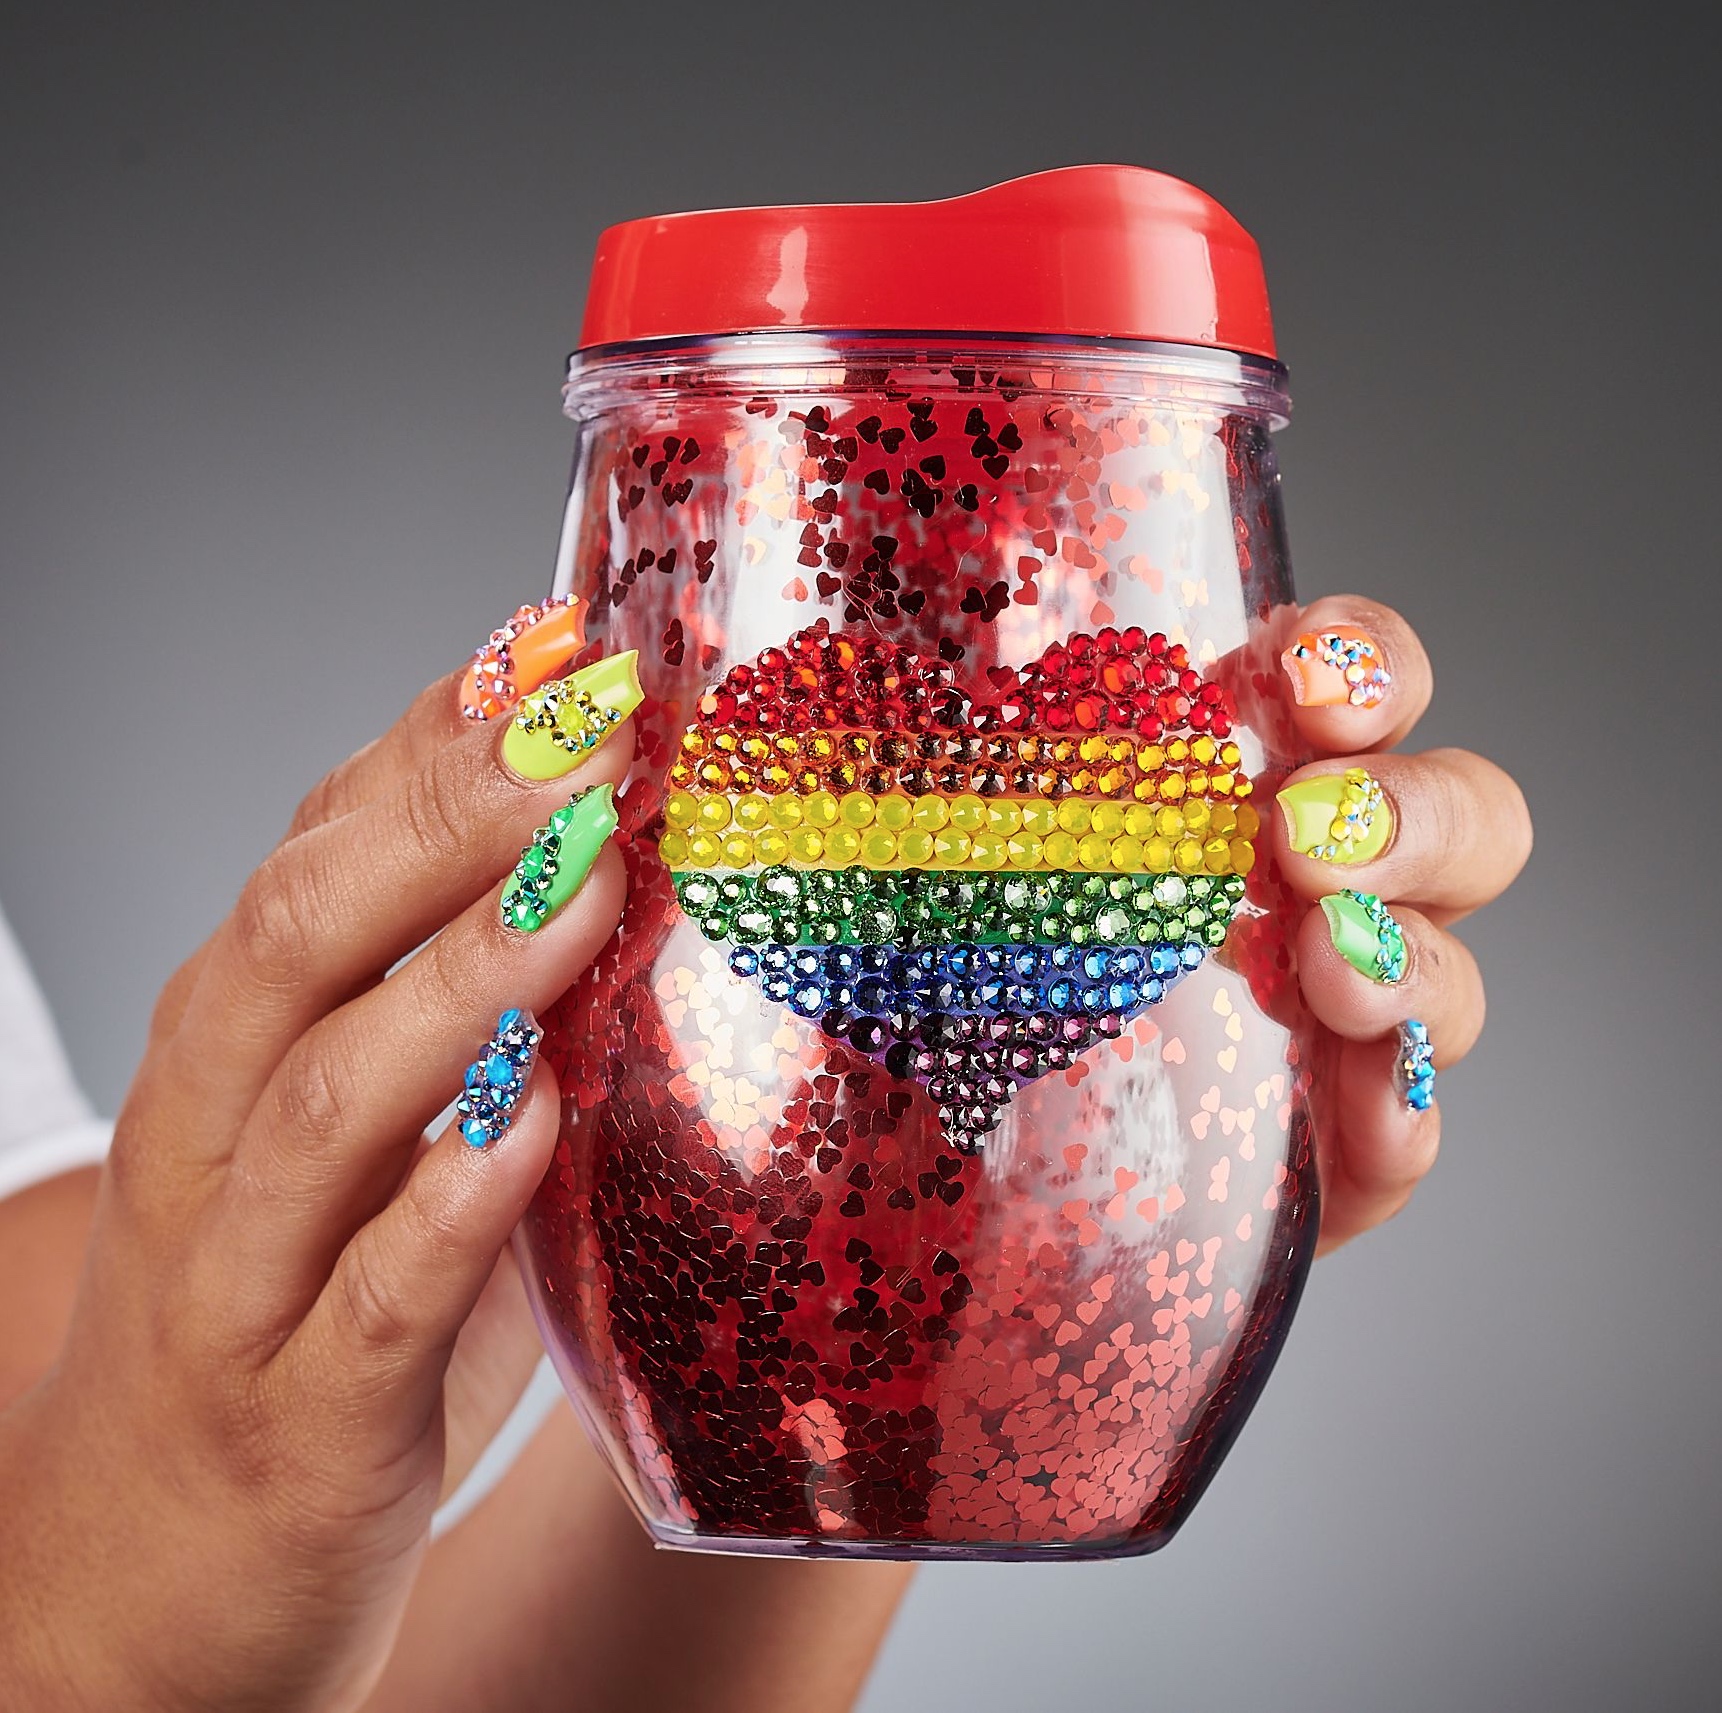
DIY Pride Tumbler
Posted by Rhinestones Unlimited on Jun 24th 2020
Supplies:
- E6000 Plus no odor
- 3cc syringe
- 18 gauge tip
- Crystalline pick-me-up tool
- Crystalline Magical tray
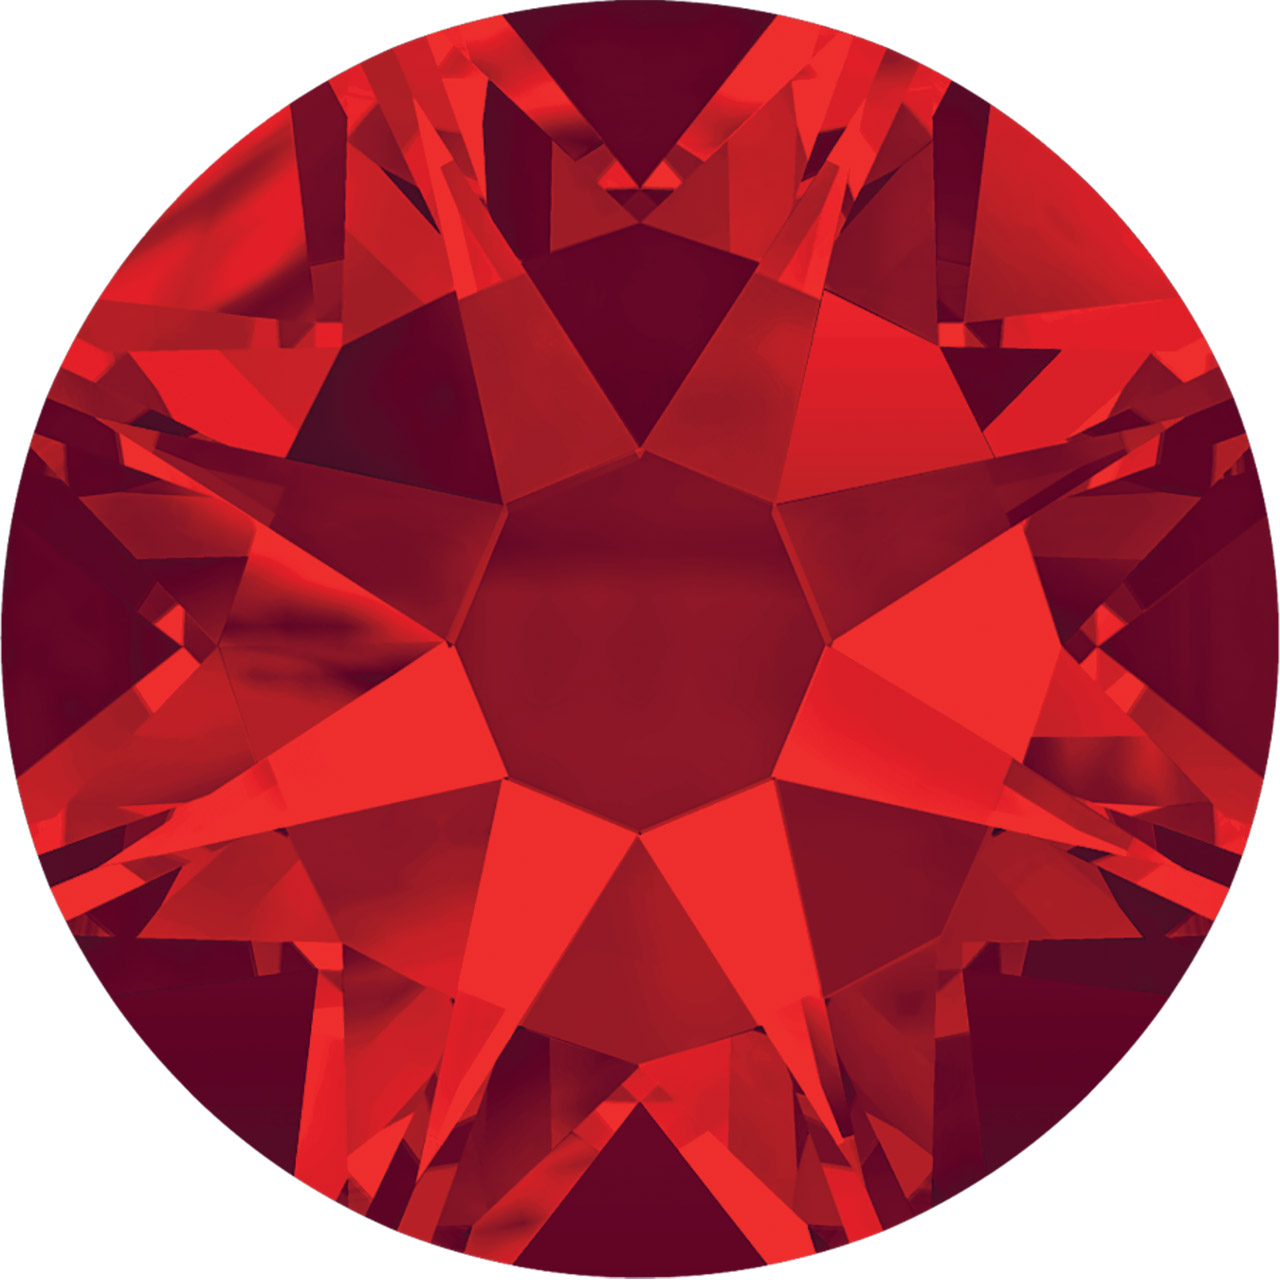
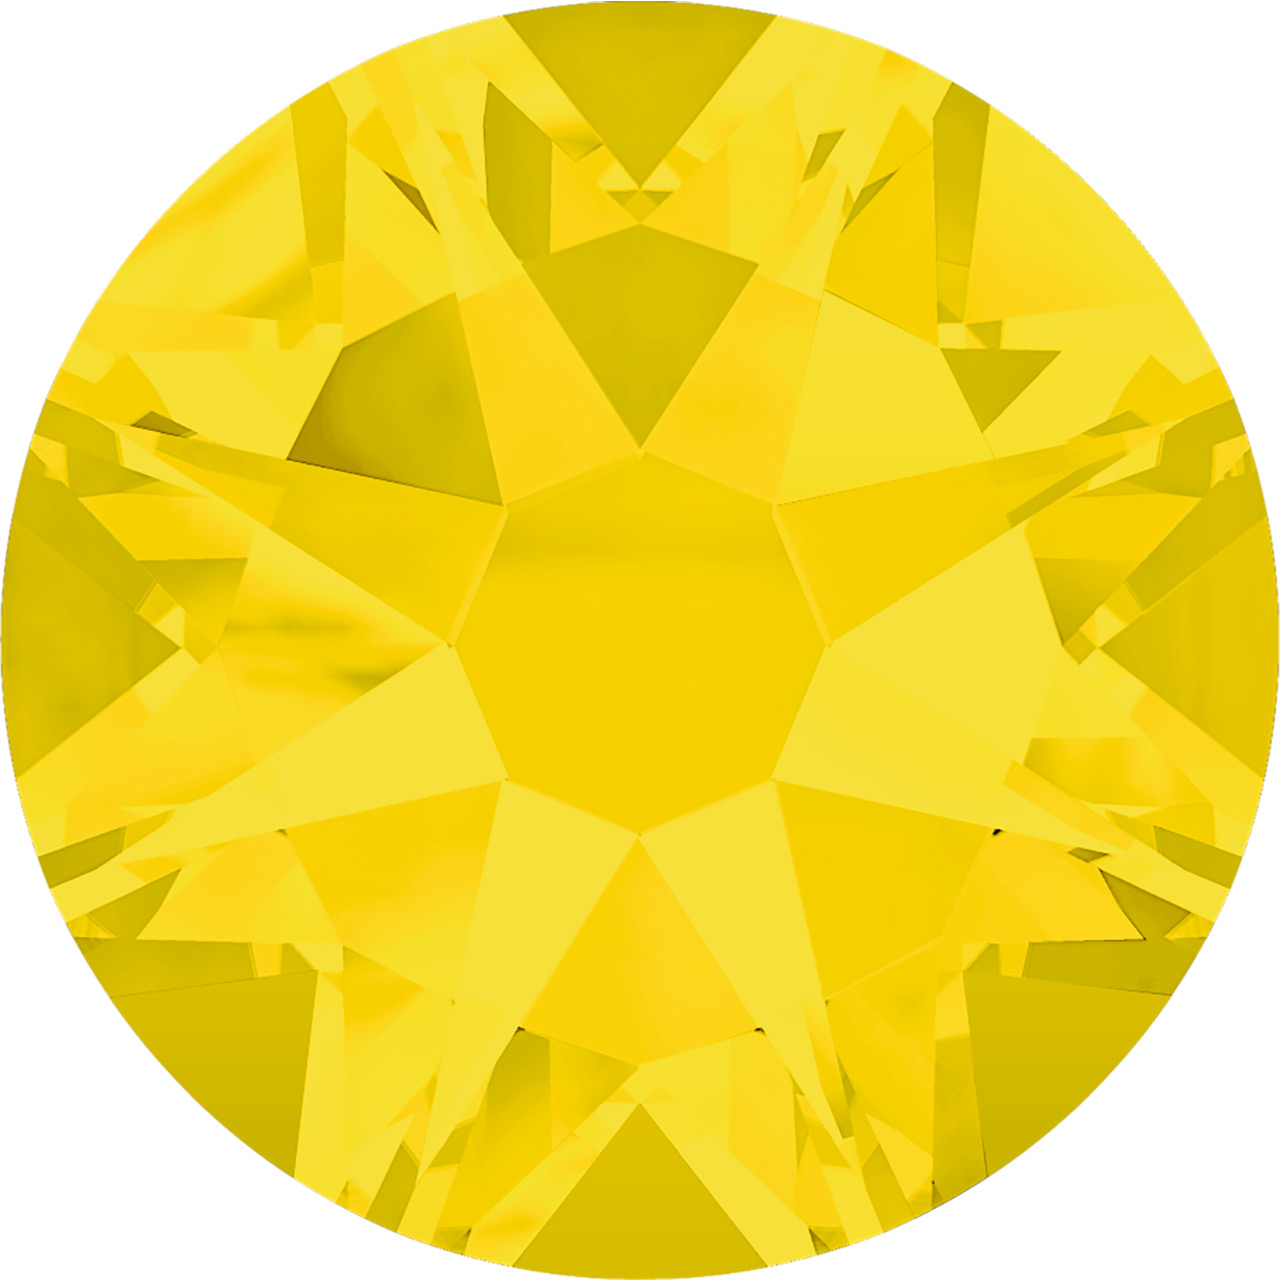
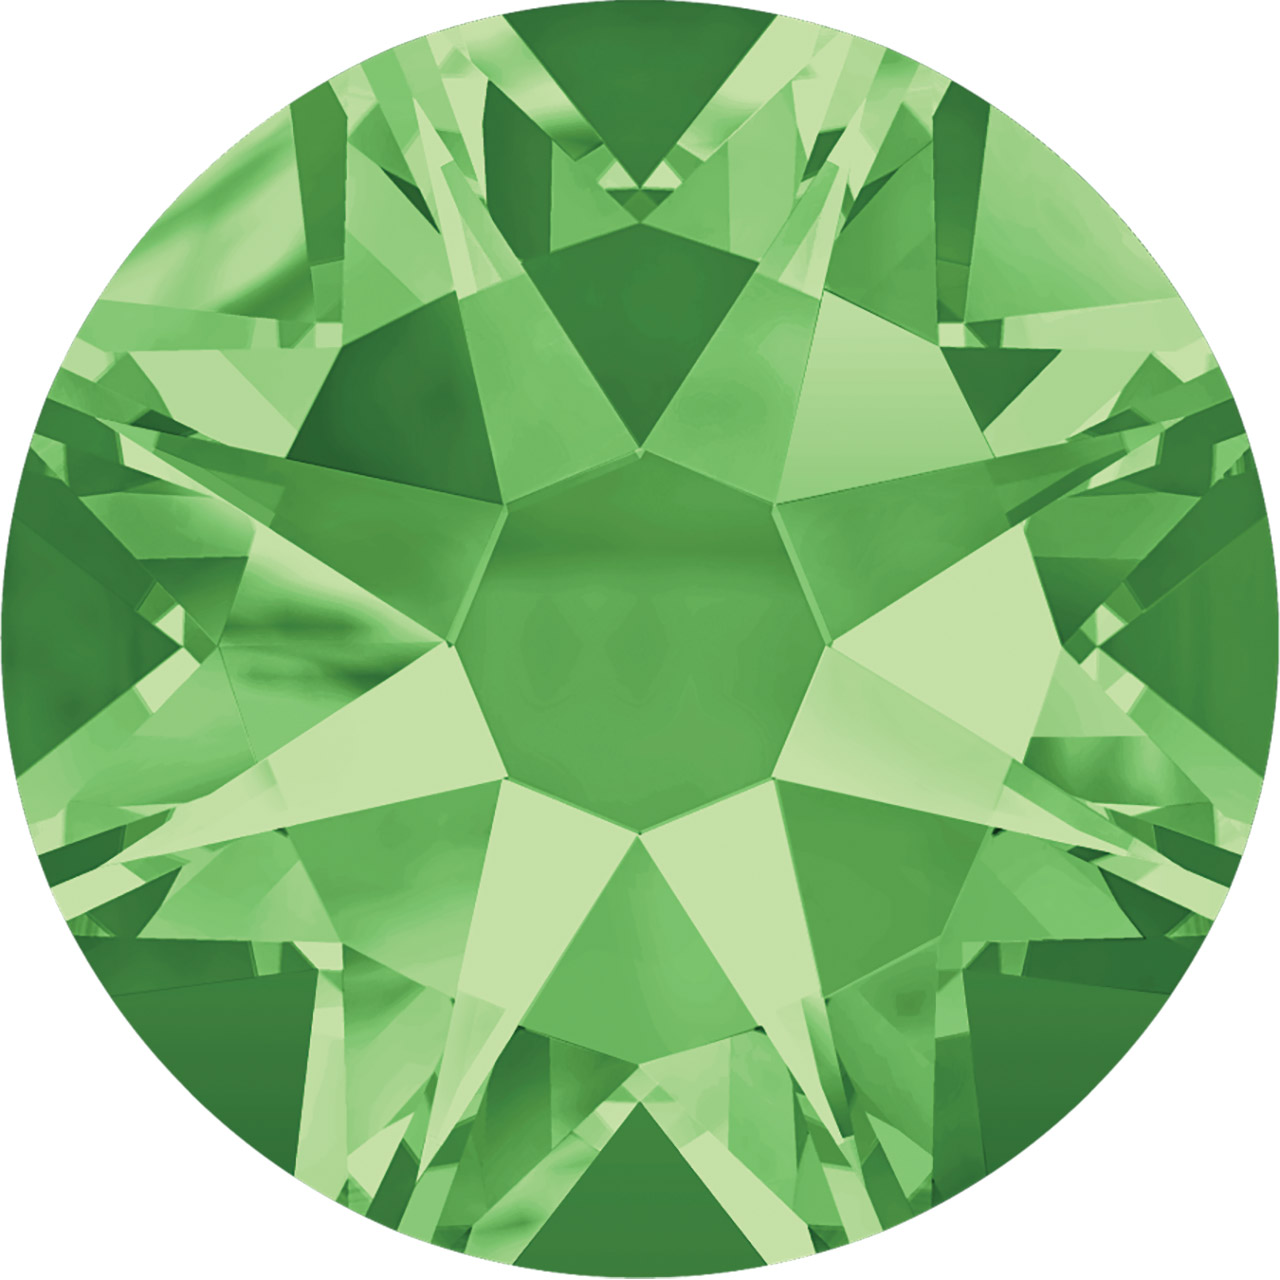
- Swarovski Crystals
- Heart rainbow tumbler
How to:
Step 1: Attach the 18 gauge tip to the syringe. Fill your syringe with the E6000 Plus, wall to wall, making sure there are no bubbles. (There is no need to fill it up all the way. In fact, I find it easiest to use smaller amounts of glue at a time.) Then insert the plunger end of the syringe, pushing the glue to the tip.
Step 2: Empty your Swarovski crystals, one color at a time, into your magical tray and give the tray a slight shake and it will magically flip the crystals over, crystal side up so they are easy for you to pickup.
Step 3: Apply a few small dots of the E6000 glue with your syringe to the tumbler. Then, using your pick-up tool, pick up one crystal at a time and press into the glue dots on the tumbler. Continue this procedure until your ornament is complete, allowing dry time as needed. (E6000 dries pretty quickly, however, I'm noticing the E6000 Plus doesn't seem to dry as fast as the original E6000 formula. So, just be aware of this on shiny and smooth surfaces, as your crystals may slide a bit as you are working.)
Step 4: Fill your DIY Pride Tumbler with your fave beverage of choice and sip in sparkly Pride style!
p.s. If you're loving her Rainbow Pride mani, check out the how to HERE!
A
All Swarovski Crystals:
A
CREDITS
Strassing: Miss DIY Sparkle

 Bulk
Bulk Crystal
 Crystals
  Sales &